15 Marker Storage Ideas for Organized Craft Spaces
Discover 15 clever marker storage ideas to organize your craft space, from DIY solutions to smart holders that keep supplies tidy.
If you have ever dumped an entire drawer searching for that one perfect shade of teal, you already know the struggle. Markers multiply overnight, roll off tables, and vanish into the craft room abyss like socks in a dryer. A disorganized collection kills creative momentum faster than a dried-out tip. But here is the good news: you do not need a fancy studio or a big budget to bring order to the chaos. Whether you own a dozen brush pens or hundreds of alcohol markers, the right storage solution transforms your workspace from a hot mess into an inspiring hub. Let us explore fifteen brilliant ideas that work.
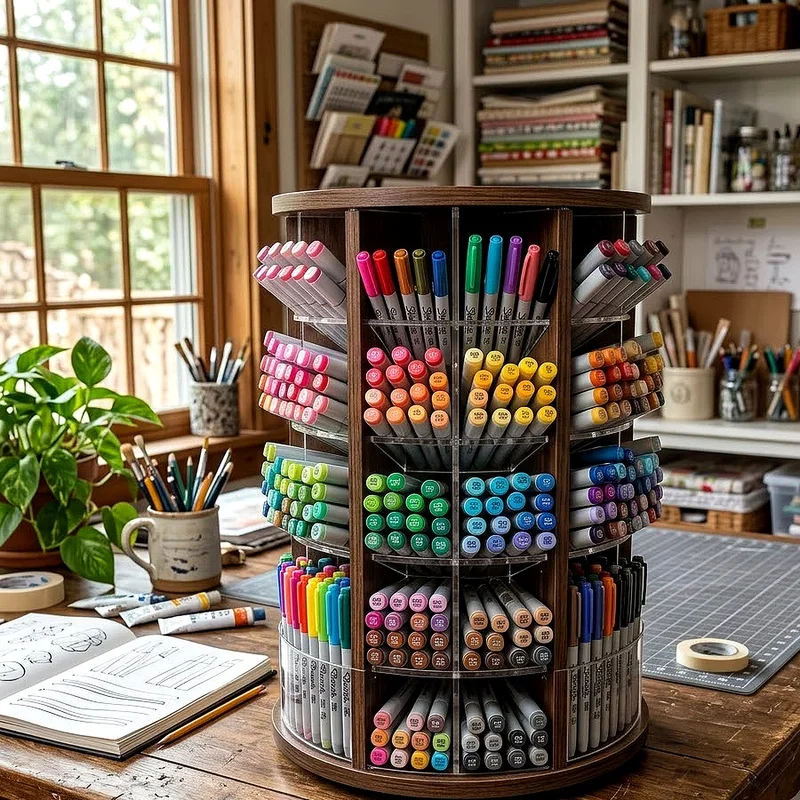
1. Use a Rotating Desktop Carousel
A rotating carousel is the lazy Susan of the craft world, and it deserves far more love than it gets. Spin the tower and every color sits right at your fingertips without any digging required. These carousels hold anywhere from sixty to over three hundred markers depending on the model. They occupy minimal desk space while keeping your entire collection visible at a glance. Organize each slot by color family, brand, or project theme to speed up your workflow. If you work with multiple marker types like Copics or Tombows, a carousel lets you group them intelligently. It is the kind of upgrade that makes you wonder how you ever crafted without one.
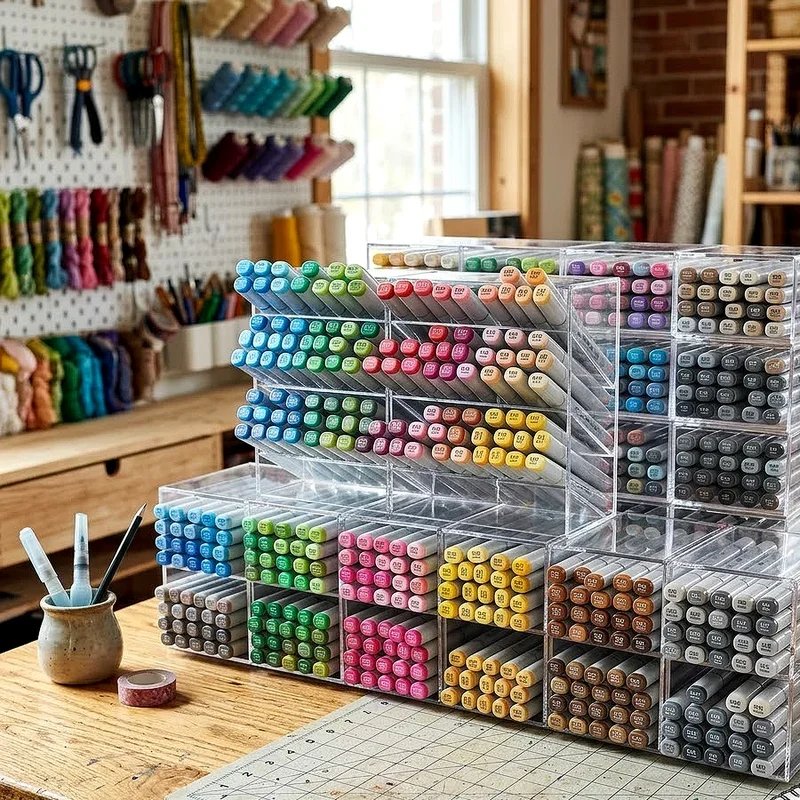
2. Try Clear Acrylic Marker Holders
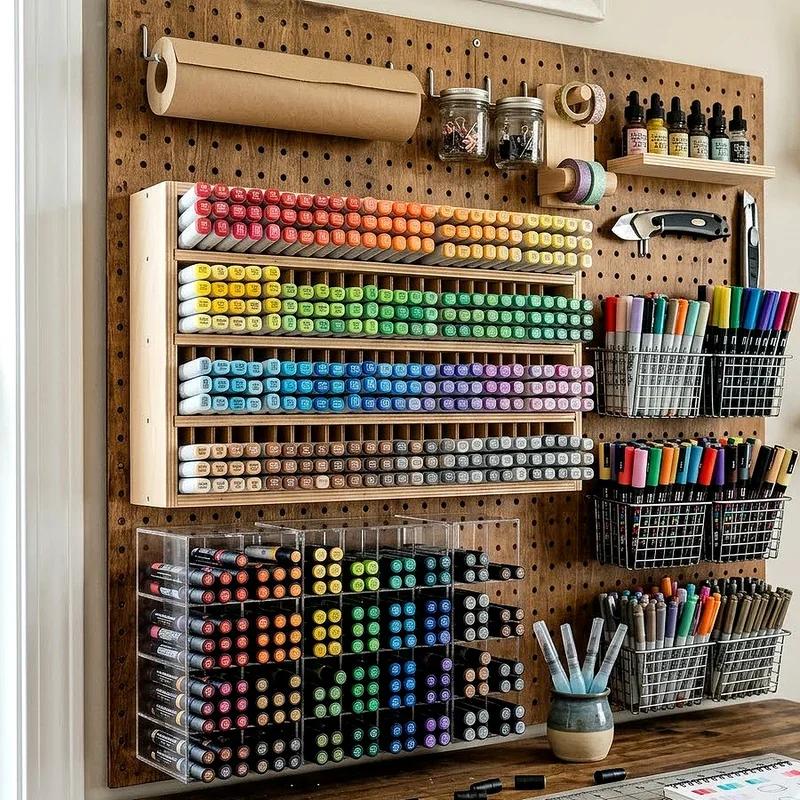
Clear acrylic holders are the glass slippers of marker storage because they let you see everything without opening a single thing. These sleek organizers come in tiered designs, upright stands, or horizontal trays that display markers like a curated art supply store. The transparency eliminates guesswork since you can spot the exact shade you need in seconds. Most acrylic holders stack neatly, so you can expand your setup as your collection grows. They wipe clean with a damp cloth, which is a lifesaver when ink smudges the surface. Place them near your primary workspace and watch how much smoother your coloring or lettering process becomes. Acrylic storage turns chaos into a polished display.
3. Repurpose Mason Jars for Charm
Mason jars bring farmhouse vibes to your craft space while solving marker storage in one charming swoop. You probably already have a few sitting in your kitchen cabinet, so why not put them to work? Group markers by color family and drop them tip down into individual jars for a rainbow effect that doubles as decor. Paint the lids, wrap twine around the rims, or attach chalkboard labels to identify each group at a glance. Arrange them on a shelf or inside a wooden crate for rustic appeal. The wide mouth design makes grabbing markers effortless, and sturdy glass prevents tipping disasters that plastic cups cannot avoid.
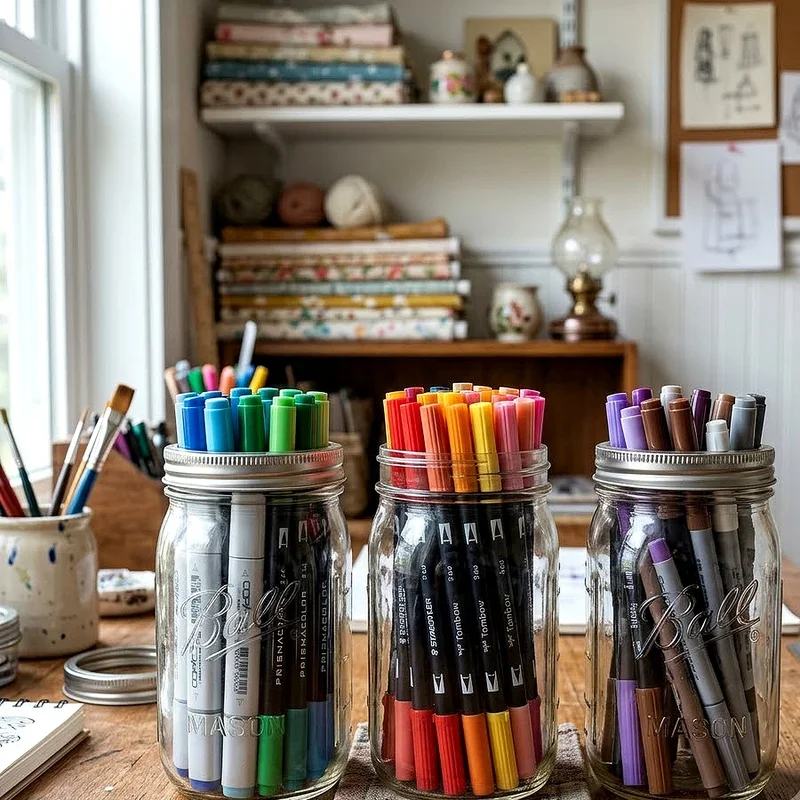
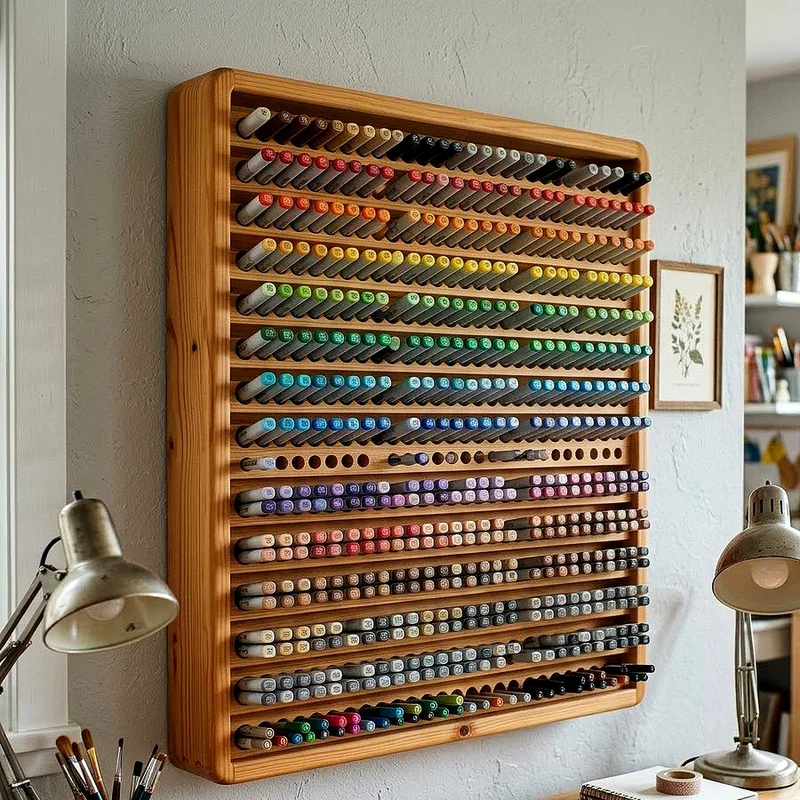
4. Build a Wall Mounted Marker Rack
When desk space runs thin, go vertical and reclaim your walls as prime storage real estate. A wall mounted rack keeps markers off your workspace while transforming a blank wall into a functional display that sparks inspiration. Purchase premade wooden or acrylic racks online, or build a custom version using narrow shelving strips from your local hardware store. Mount them at eye level so every color stays within arm's reach during intense creative sessions. Arrange markers horizontally on shallow ledges or vertically in drilled holes depending on your preference. This solution works especially well for large collections because you can span an entire wall without sacrificing precious work surface.
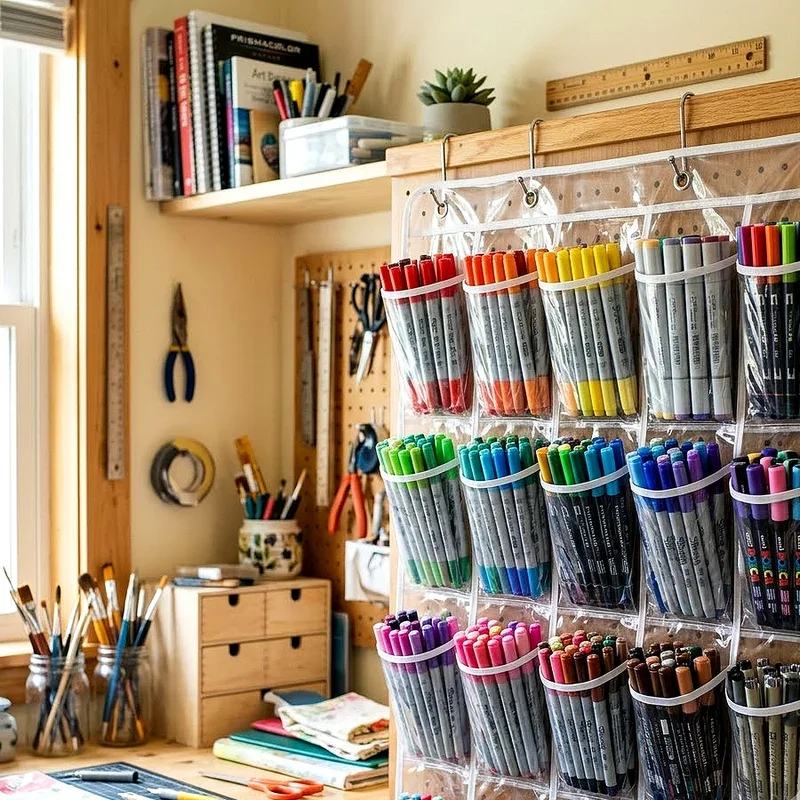
5. Organize with a Hanging Shoe Organizer
A hanging shoe organizer is one of those gloriously unexpected hacks that makes you slap your forehead wondering why you never thought of it sooner. Grab a clear pocket version, hang it on the back of your craft room door, and suddenly you have dozens of compartments perfectly sized for marker bundles. Sort by brand, color spectrum, or project needs and slip groups into each transparent pocket for instant visibility. A standard over the door organizer offers twenty to thirty pockets without using any floor or desk space. It also keeps markers lying flat, which many brands recommend for longevity and consistent ink flow throughout the barrel.
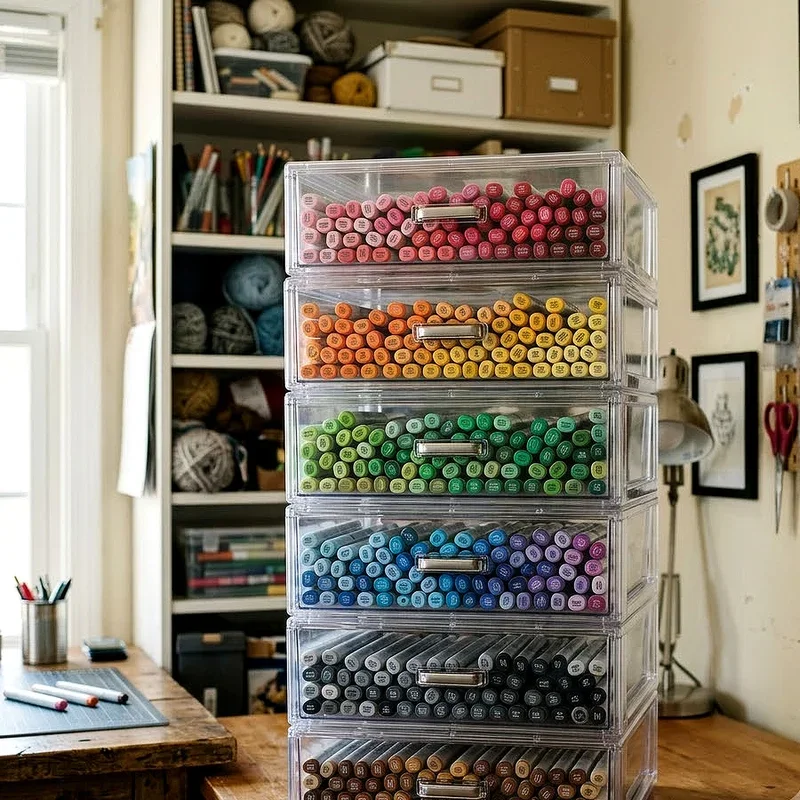
6. Stack Stackable Drawer Units
Stackable drawer units bring modularity to your organization game, letting you grow storage right alongside your expanding collection. Think of them like building blocks for adults because you simply add another unit whenever you acquire new markers. Small desktop drawers work perfectly since their shallow compartments prevent markers from piling into a tangled heap. Label each drawer with the color range it contains so you never waste time searching for that elusive burnt sienna. Tuck these units under your desk or line them along a shelf wherever space allows. The enclosed design also protects markers from dust and sunlight, which helps preserve ink quality over time.
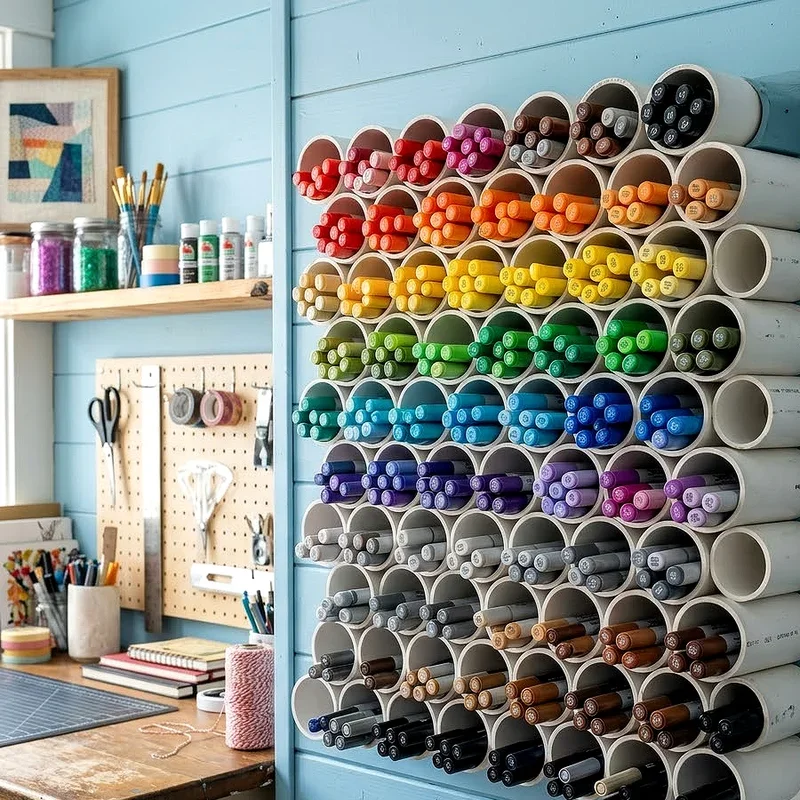
7. Create a PVC Pipe Display
PVC pipes are not just for plumbing anymore because crafters have turned these hardware store staples into seriously clever marker displays. Cut pipes into short sections, sand the edges smooth, and glue them together in a honeycomb pattern that looks surprisingly modern. Each tube holds a small group of markers upright and sorted by color without any fancy hardware required. Spray paint the exterior to match your room decor or leave them white for a clean minimalist aesthetic. Mount the honeycomb on a wall or set it on your desk as a freestanding organizer. This project costs just a few dollars and takes about an hour, making it one of the most budget friendly options available.
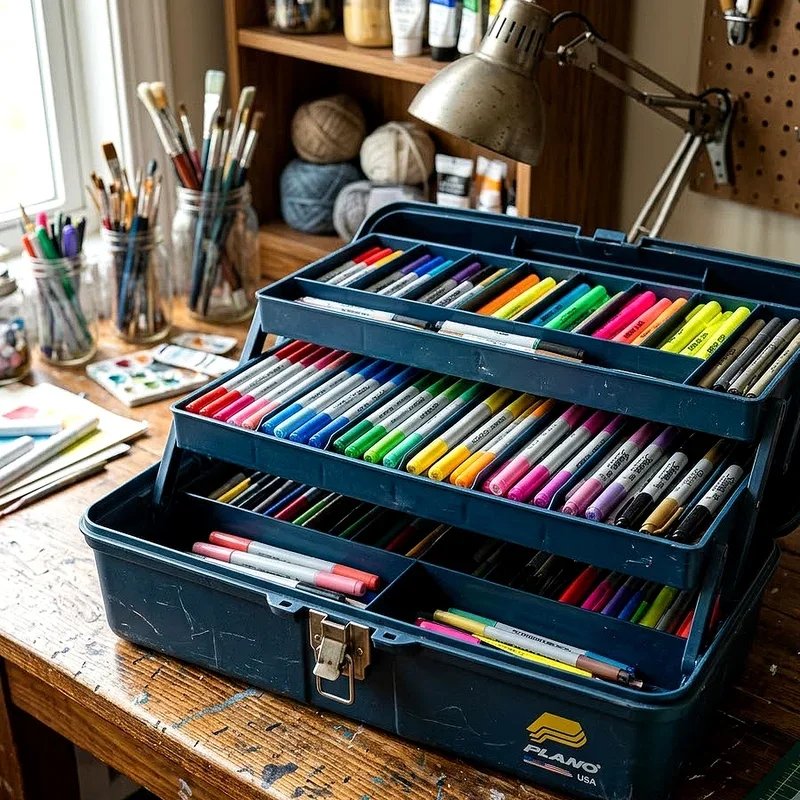
8. Store Markers in a Tackle Box
Fishermen figured out portable organization long before crafters caught on, and a tackle box brings that genius to your marker collection with zero modifications needed. The adjustable compartments inside let you customize slot sizes for thin fineliners, thick chisel tips, or chunky permanent markers all within a single case. Snap the lid shut and carry your entire collection to a workshop or a friend's house without worrying about markers rolling loose. Many tackle boxes feature multiple fold out trays that reveal layer after layer of organized supplies. The durable plastic shell protects markers from drops during transport, which matters when you own professional grade sets.
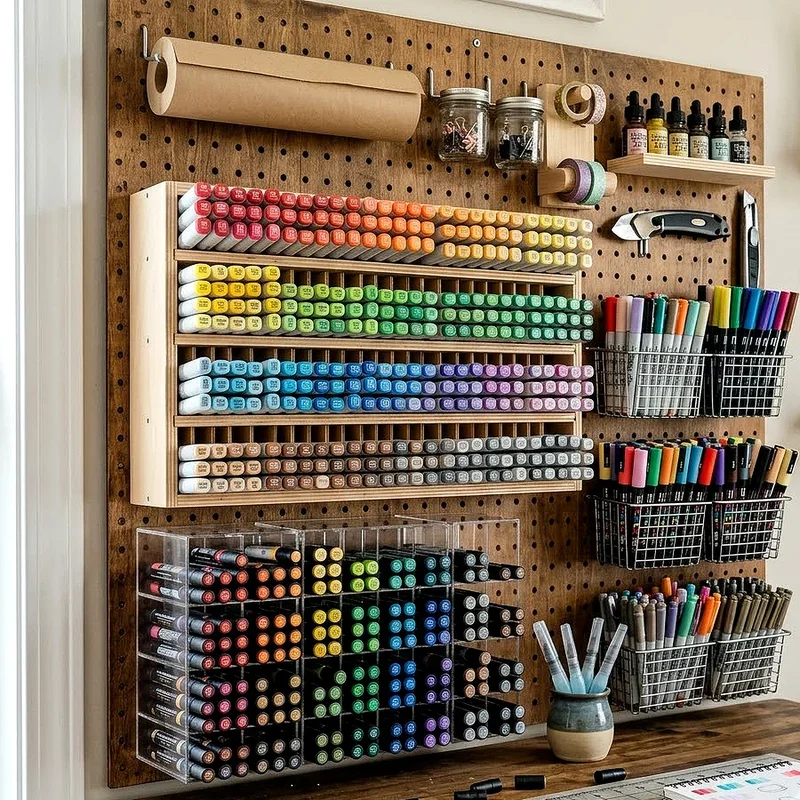
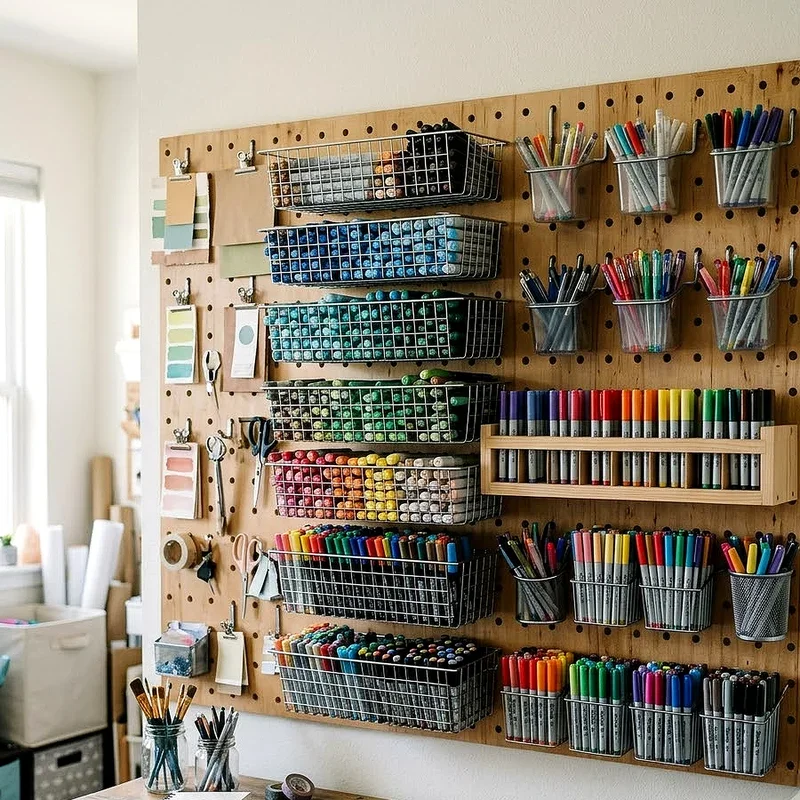
9. Use a Pegboard System
Pegboard systems are the Swiss Army knife of craft room organization because they adapt to virtually any storage need you throw at them. Install a panel above your desk, then attach hooks, cups, baskets, and shelves in whatever configuration suits your collection best. The perforated surface lets you rearrange components whenever your needs change without drilling new holes in your wall. Drop markers into small wire baskets sorted by color, or rest them on narrow shelf attachments for horizontal display. Dedicate one section entirely to markers while using surrounding areas for scissors and washi tape. A pegboard grows with you, and that flexibility alone makes it worth every penny.
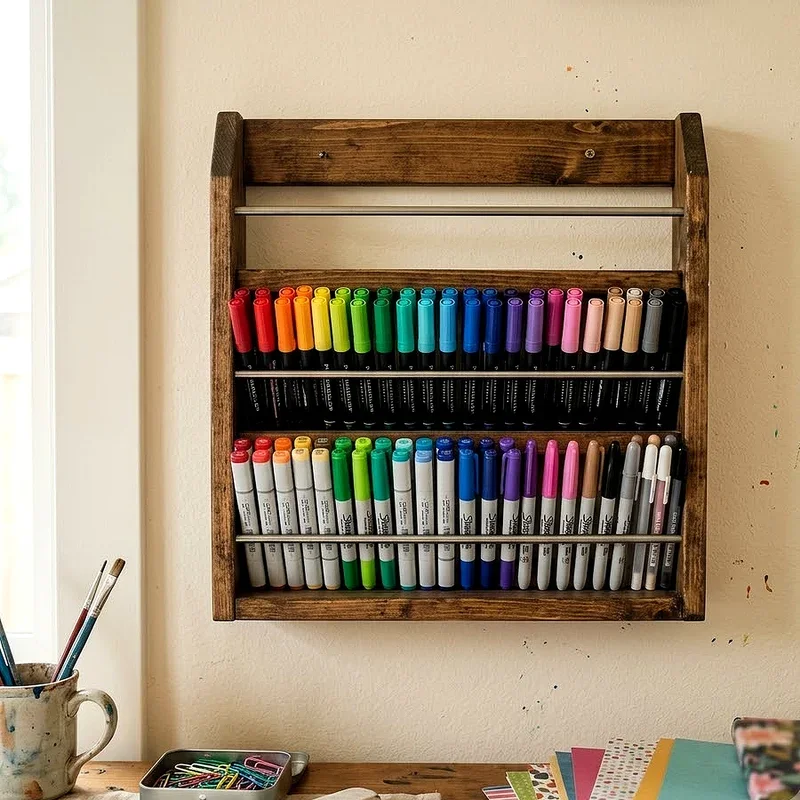
10. Arrange Markers in a Spice Rack
That spice rack collecting kitchen dust deserves a second career in your craft room because its tiered design displays markers beautifully. A stepped shelf originally built for oregano jars happens to fit markers perfectly, angling each row so you can read labels without moving anything. Place it on your desk or mount it on the wall for a compact solution that punches above its weight in organization power. Wooden spice racks add warmth while metal versions deliver a sleek industrial vibe. Find inexpensive options at thrift stores or dollar shops without stretching your budget. This trick reminds you that the best storage ideas come from looking at everyday objects creatively.
11. Roll Up with a Fabric Marker Wrap
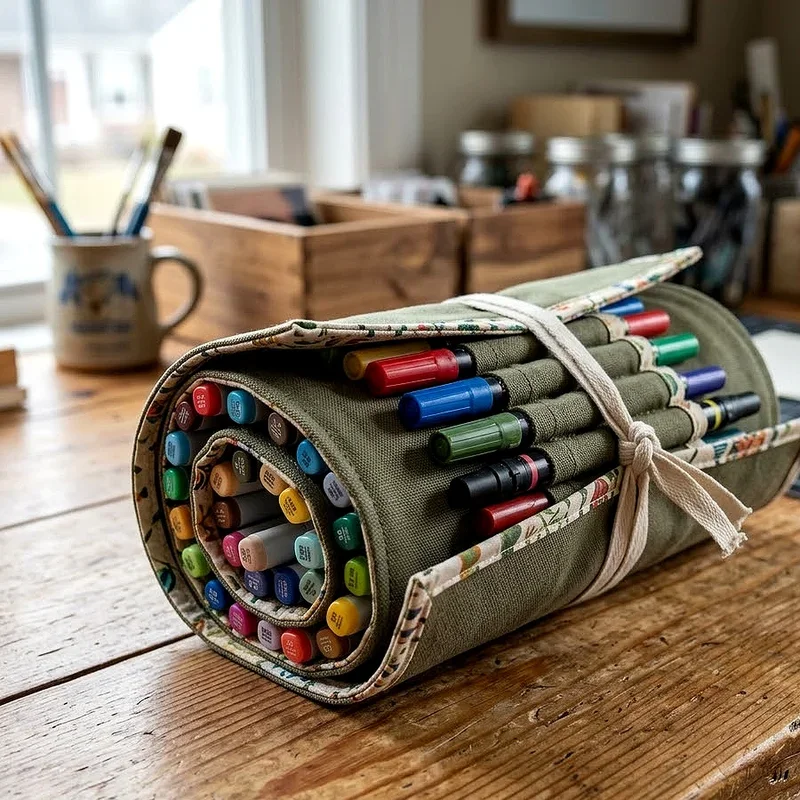
A fabric marker wrap is the ultimate portable solution for crafters who create on the go without lugging bulky containers around. Think of it as a cozy sleeping bag for your markers because each pen tucks into its own elastic loop, then the whole thing rolls into a compact bundle for your bag. Sew one yourself using scrap fabric and elastic strips, or purchase a premade version in canvas or printed cotton. Wraps work especially well for curated travel sets when you need organized access to essential colors during workshops or vacations. Unroll it flat on any surface, select your shade, and snap it back when finished. The slim profile fits easily into tote bags.
12. Try Magazine File Holders
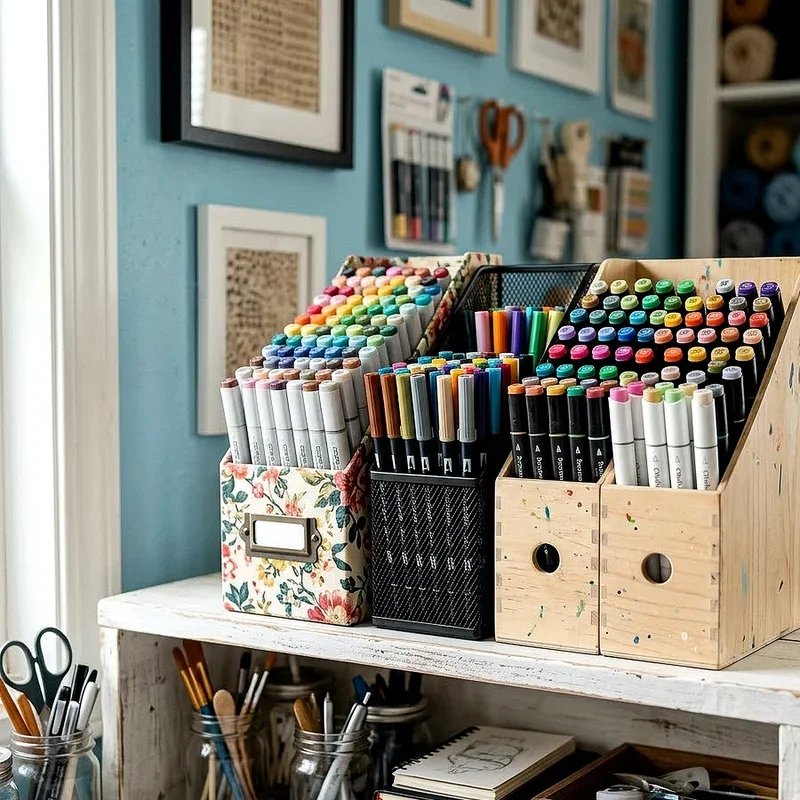
Magazine file holders are those angled desktop boxes found in offices everywhere, and they store markers like a dream when placed upright on a shelf. Stand markers inside the holder, group them by color family, and line several holders across for a clean uniform look. The open front design lets you pull markers in and out without removing lids or fighting with tight compartments that slow your creative flow. Find cardboard versions for pocket change or invest in sturdy plastic ones that endure years of daily use. Label the spine of each holder so you can identify contents from across the room. Magazine holders prove that office supplies and craft supplies share more common ground than most people realize.
13. Upcycle Tin Cans for a Rustic Look
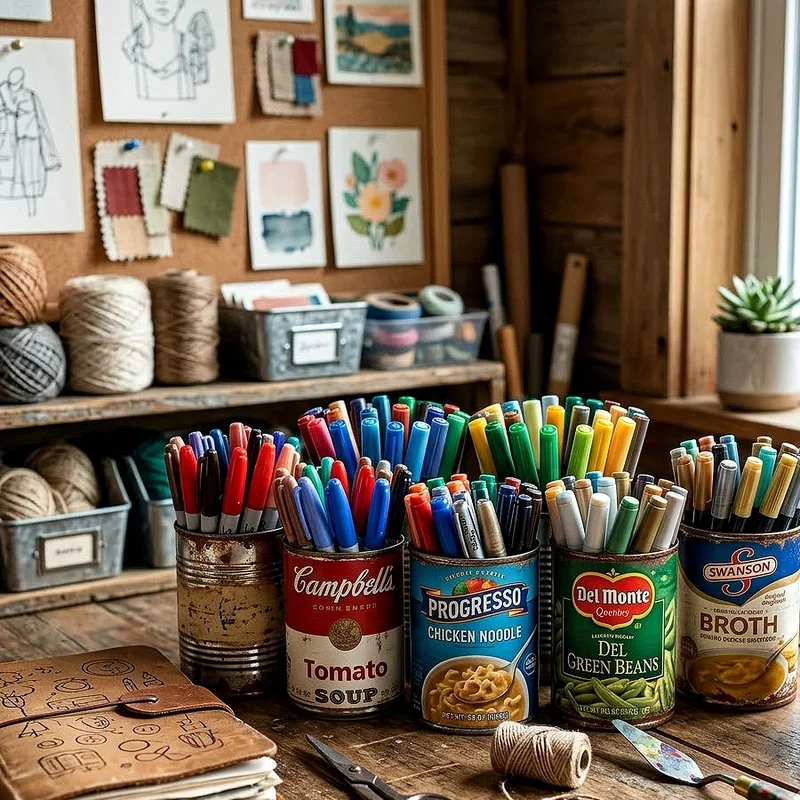
Before tossing empty soup and vegetable cans into the recycling bin, consider giving them a second life as quirky marker holders. Clean them thoroughly, file any sharp edges smooth, and wrap them in decorative paper or burlap that complements your craft room theme. Cluster several cans together on a tray, assigning each one a specific color group for quick identification. The weight of tin provides stability that lightweight plastic cups cannot match, meaning markers stay upright on a busy desk. Kids love decorating their own cans with paint and stickers too. Upcycling reduces waste while adding personality to your setup, proving you can be eco friendly and stylish simultaneously.
14. Use a Tiered Desk Organizer
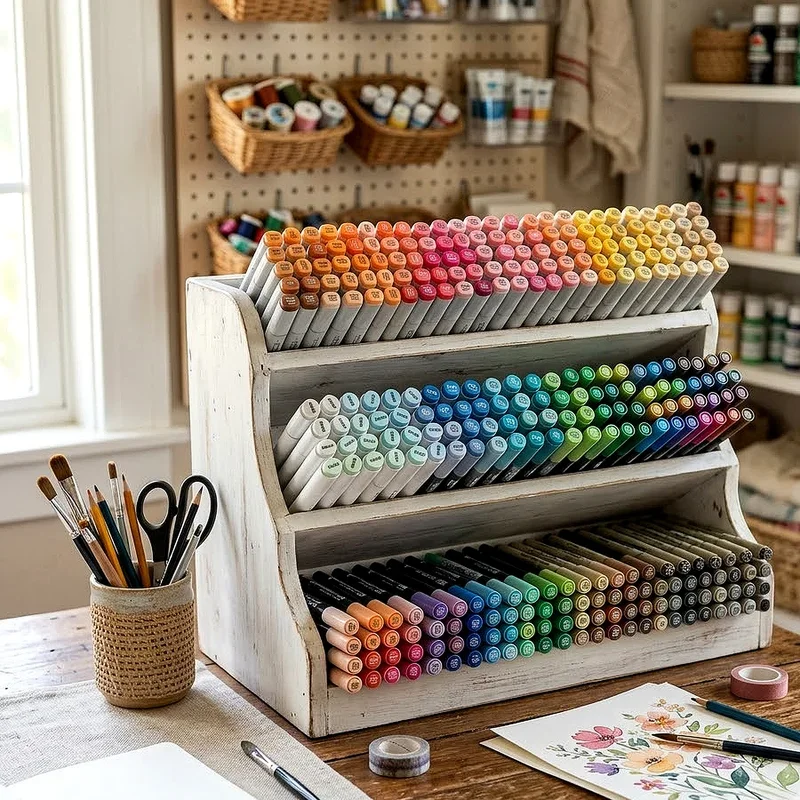
A tiered desk organizer elevates your marker storage literally and figuratively by stacking multiple levels into one compact footprint on your work surface. These step style units display markers at different heights, making it easy to scan your full collection without shuffling anything around. Look for models with removable dividers so you can adjust slot widths to accommodate everything from skinny brush pens to thick chalk markers. Position the organizer directly behind your active work area so reaching for a new color feels natural during creative flow. Many tiered organizers come in bamboo, acrylic, or molded plastic, offering aesthetics ranging from earthy to modern depending on your room's vibe.
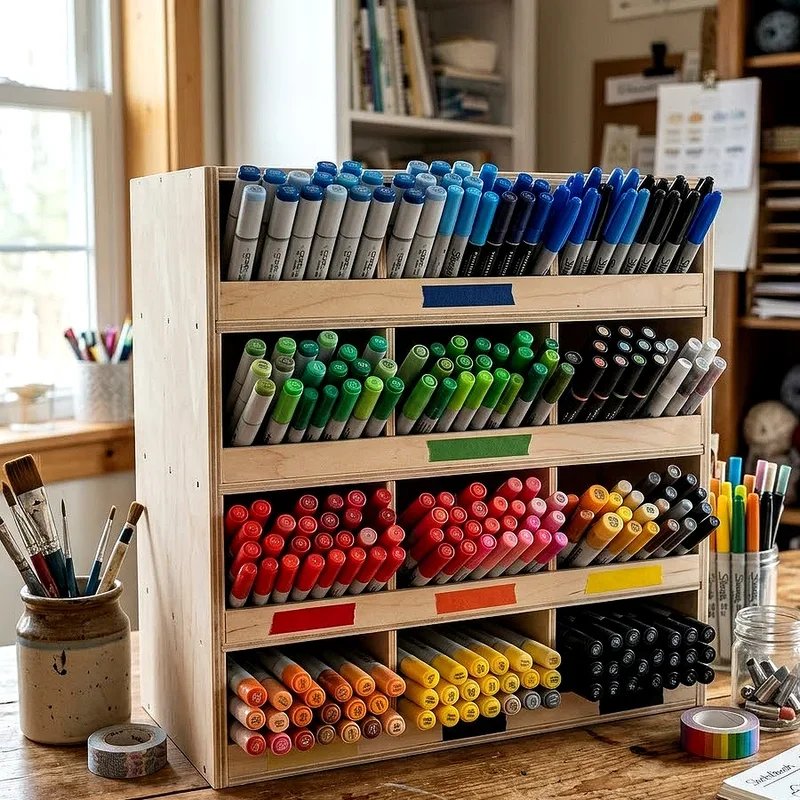
15. Label Everything with Color Coded Sections
All the storage containers in the world mean nothing if you cannot find what you need in under five seconds, and that is where labeling saves the day. Assign a color coded label to every bin, jar, drawer, and slot so returning markers to their proper home becomes second nature. Use a label maker, handwritten tags, or printed stickers that match the color family inside each container for instant visual recognition. Labeling also helps household members respect your system because clear markers reduce confusion and accidental misplacement. Think of labels as street signs for your craft room, guiding you to the right neighborhood every time without detours. Thirty minutes of labeling pays dividends for months.
Conclusion
Organizing your marker collection does not require a massive budget or a complete room renovation to make a real difference. From spinning carousels to upcycled tin cans, each idea on this list proves that creativity applies to storage just as much as it applies to art itself. Pick one or two solutions that match your space, your style, and your collection size, then watch how quickly your craft sessions become smoother and more enjoyable. A tidy workspace fuels inspiration, and when every marker has a home, you spend less time searching and more time creating the projects you love most.
Read next: 15 Art Storage Ideas to Keep Your Supplies Neat and Ready
Frequently Asked Questions
Q1. What is the best way to store markers long term?
A: Store markers horizontally in a cool, dry place to maintain consistent ink flow.
Q2. Should markers be stored vertically or horizontally?
A: Most manufacturers recommend horizontal storage, but dual tip markers can stand upright safely.
Q3. How do I organize markers by color effectively?
A: Group markers by color family using the rainbow spectrum from warm to cool tones.
Q4. Can I use kitchen items for marker storage?
A: Yes, mason jars, spice racks, and tin cans work perfectly as affordable marker holders.
Q5. How many markers can a rotating carousel hold?
A: Most carousels hold between sixty and three hundred markers depending on size and design.
Stay up to date with our latest ideas!