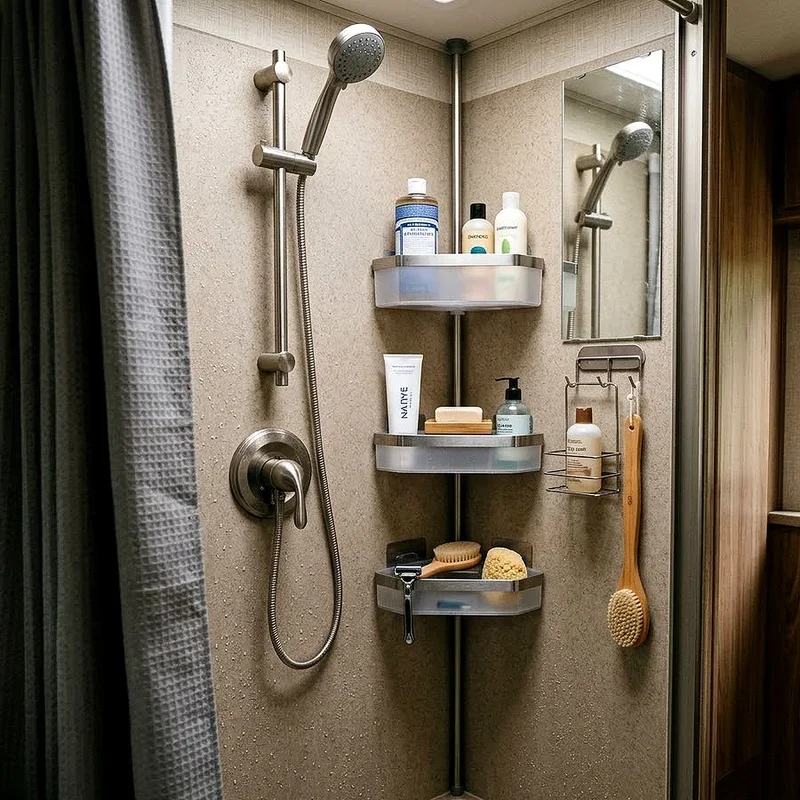
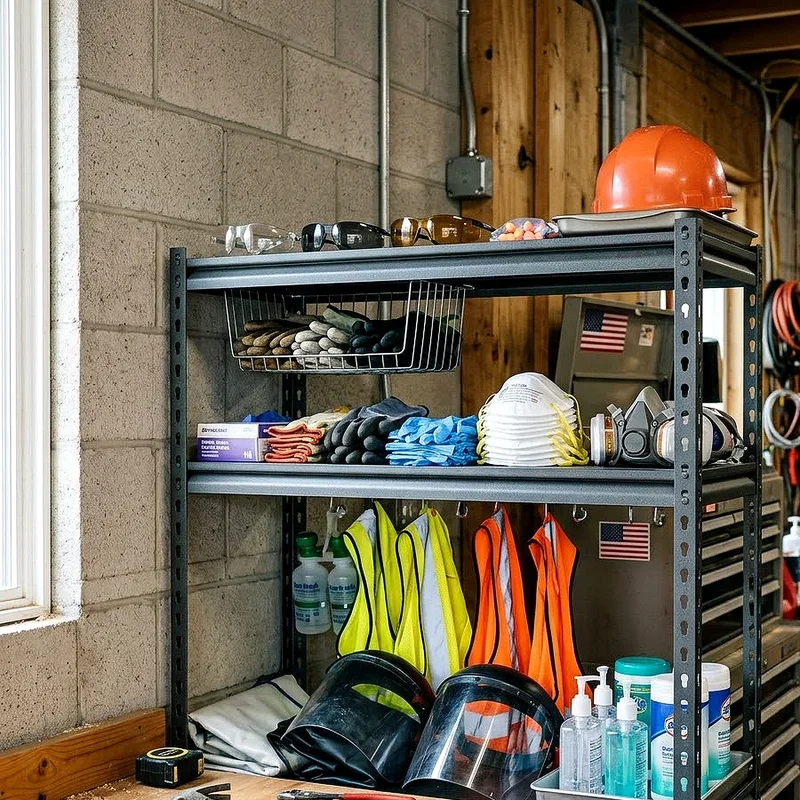
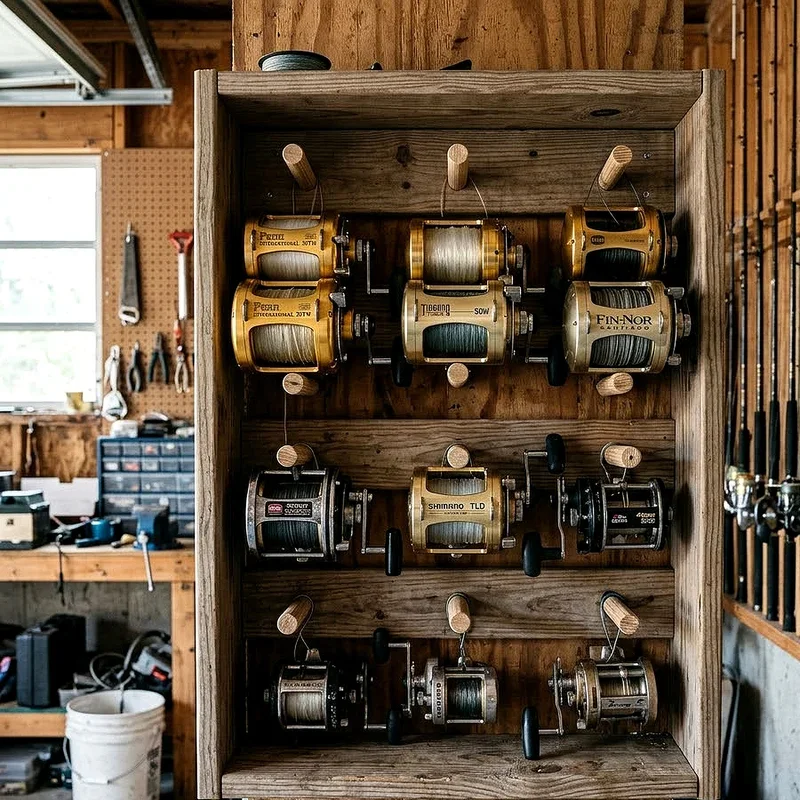
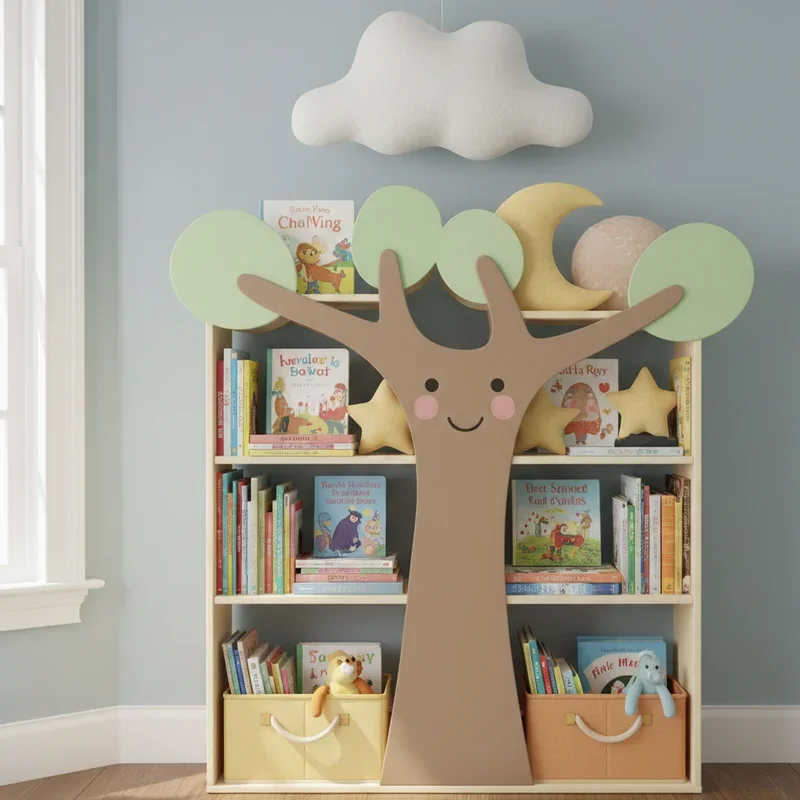
How to Build Storage Shelves Step-by-Step Guide
Learn how to build sturdy storage shelves with our detailed guide. Transform your space with custom shelving using simple tools and materials.
You know what's funny? We're always running out of space. Doesn't matter if you've got a sprawling garage or a cozy apartment, there's never quite enough room for all our stuff. Well, here's the thing: building your own storage shelves isn't just about creating more space. It's about taking control, getting your hands dirty, and crafting something that actually fits your needs. Plus, there's something deeply satisfying about looking at a set of shelves and thinking, "Yeah, I made that." This guide will walk you through everything you need to know, from picking up your first piece of lumber to loading those shelves with all your treasures. No fancy carpentry degree required, just a willingness to learn and maybe a few band-aids for those inevitable splinters.
Understanding Your Storage Needs and Planning
Before you even think about grabbing a hammer, you've got to figure out what you're actually building. Are we talking light-duty shelves for books and knickknacks, or heavy-duty industrial-style storage that could hold a small car? Okay, maybe not a car, but you get the idea.
Start by measuring your space. And I mean really measuring, not just eyeballing it and hoping for the best. Trust me on this one. You'll want to know the height, width, and depth you're working with. Consider what you'll be storing too. Heavy tools need sturdier construction than a collection of paperbacks. Think about accessibility as well. Items you use frequently should sit at eye level, while seasonal stuff can camp out on the top shelf gathering dust until December rolls around again.
Sketch out your design on paper. Nothing fancy, just enough to visualize what you're building. This rough draft will save you countless headaches later. You'll want to decide on the number of shelves, their spacing, and whether you're going for a freestanding unit or something mounted to the wall.
Gathering Your Materials and Tools
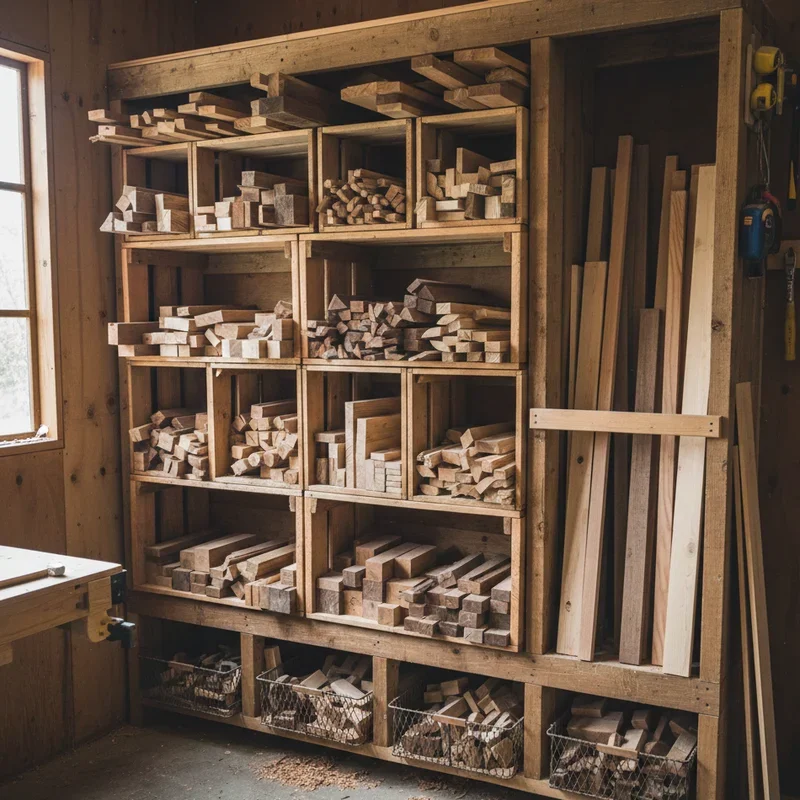
Alright, shopping time. The beauty of building storage shelves is that you don't need a workshop full of expensive tools. For materials, you're looking at lumber for the frame and shelves. Two-by-fours work great for the frame, while plywood or solid boards make excellent shelving surfaces. The thickness depends on what you're storing. Three-quarter-inch plywood handles most household items just fine. Don't forget screws, brackets, and wood glue. These little guys are what hold everything together.
Tool-wise, you'll need a drill with various bits, a saw (circular saw or hand saw will do), a level (because crooked shelves are nobody's friend), a tape measure, a pencil for marking, and sandpaper to smooth out rough edges. A stud finder comes in handy if you're mounting to walls. Safety gear matters too. Grab some safety glasses and work gloves. Your future self will thank you.
While you're at the hardware store, chat with the folks there. They've seen every DIY disaster imaginable and can offer solid advice. Plus, many stores will cut lumber to size for you, which is a huge time-saver if you're working with hand tools.

Preparing Your Workspace and Materials
Got everything? Good. Now let's set up properly. Clear out a decent workspace where you can spread out. A garage or driveway works perfectly. If you're stuck indoors, lay down drop cloths to protect your floors from sawdust and scratches.
Inspect your lumber before you start cutting. Look for warps, cracks, or knots that might cause problems down the road. A slightly twisted board might seem fine now, but it'll drive you nuts when your shelf won't sit flat. If you spot issues, exchange it at the store. They expect it.
Sand your lumber before assembly. It's way easier to smooth boards individually than trying to reach tight corners later. Start with medium-grit sandpaper and work your way to fine grit. Lay out all your pieces according to your design. This dry fitting helps you catch measurement errors before you've drilled a hundred holes. Think of it as a dress rehearsal.
Building the Frame Structure
Time to put things together. The frame is your shelf's skeleton, so we want it solid. Start by cutting your vertical supports to height. These are typically two-by-fours that run from floor to ceiling or whatever height you've chosen. Next, cut your horizontal supports. These pieces connect the vertical supports and create the structure where your shelves will rest.
Begin assembly by connecting the vertical and horizontal pieces. Pre-drill your screw holes to prevent the wood from splitting. This step seems tedious, but it prevents heartbreak later. Apply wood glue to the joints before driving in screws. The glue adds tremendous strength, and the screws hold everything tight while the glue dries.
Use your level constantly. Check that vertical supports are truly vertical and horizontal pieces are actually horizontal. Even small deviations multiply as you build upward, leaving you with a leaning tower of storage that would make Pisa jealous. If you're building a freestanding unit, consider adding a back panel. A simple piece of plywood screwed to the back transforms a wobbly structure into something solid.
Installing the Shelf Supports and Shelves
Your frame is up, which means it's time to install the supports that'll hold your actual shelves. You've got options here. Cleats are simple and strong. These are just strips of wood screwed to the vertical supports where each shelf will sit. Another approach uses brackets or shelf pins, which allow for adjustable shelving if you're not sure about exact spacing yet.
For fixed shelves with cleats, measure and mark where each shelf will go. Use your level to draw lines across both vertical supports. The cleats need to be perfectly aligned, or your shelf will sit crooked. Attach cleats with screws and glue for maximum strength.
Now cut your shelf boards to length. They should fit snugly between your vertical supports without forcing. Sand the edges of your shelf boards to prevent splinters. For permanent installation, you can screw shelves down through the top into the cleats below. For adjustable shelves, just set them in place on brackets or pins. Consider adding edge banding to the front of plywood shelves for a more finished appearance.
Securing the Unit and Adding Finishing Touches
Here's where safety gets serious. Tall shelving units can tip over, especially when loaded unevenly or when curious kids decide to practice their climbing skills. If your unit is over three feet tall, anchor it to the wall. Use a stud finder to locate wall studs and drill through the back of your shelf unit into the studs using appropriate screws and washers.
Check all your connections one more time. Wiggle the unit gently. It should feel solid, not wobbly. If something feels loose, track down the problem now.
Your shelves are built and secure, but let's make them look good too. Decide whether you want to paint, stain, or leave the wood natural. If you're painting, use a primer first and apply thin coats. For staining, test your color on scrap wood first and apply with the grain. Add labels or dividers if you're organizing lots of small items.
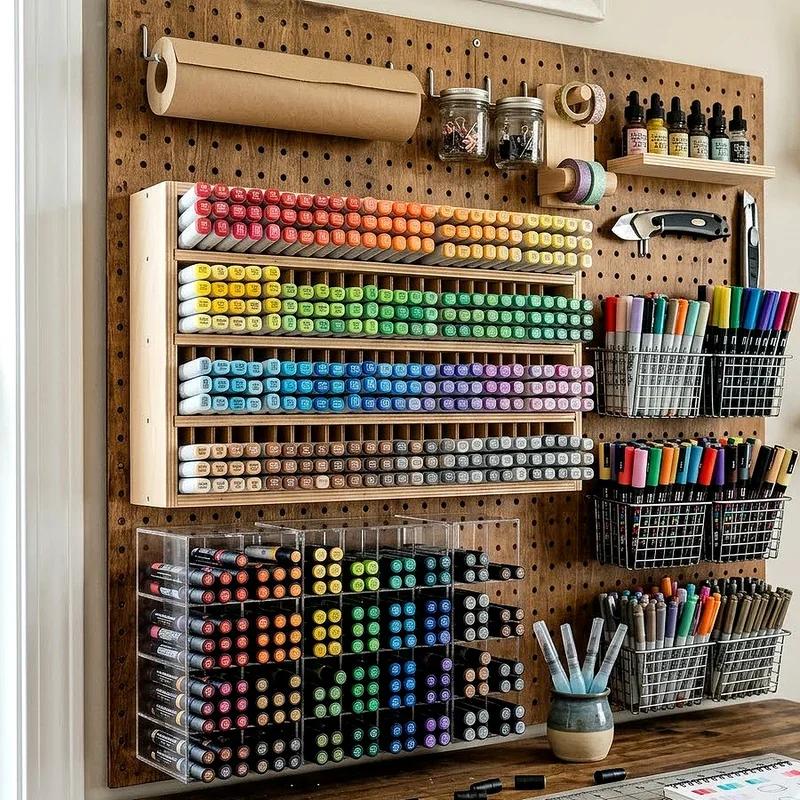
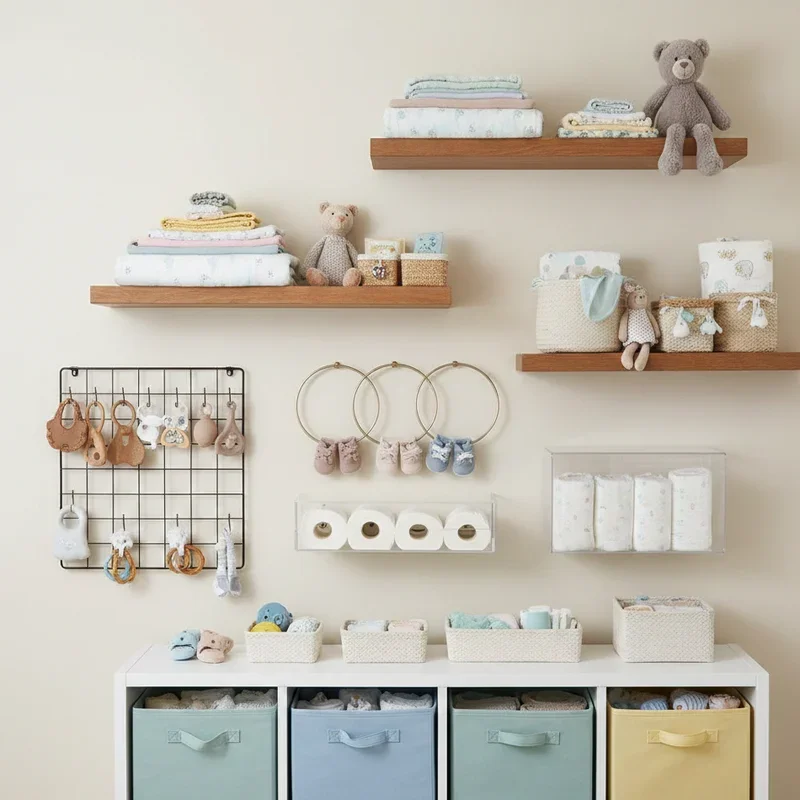
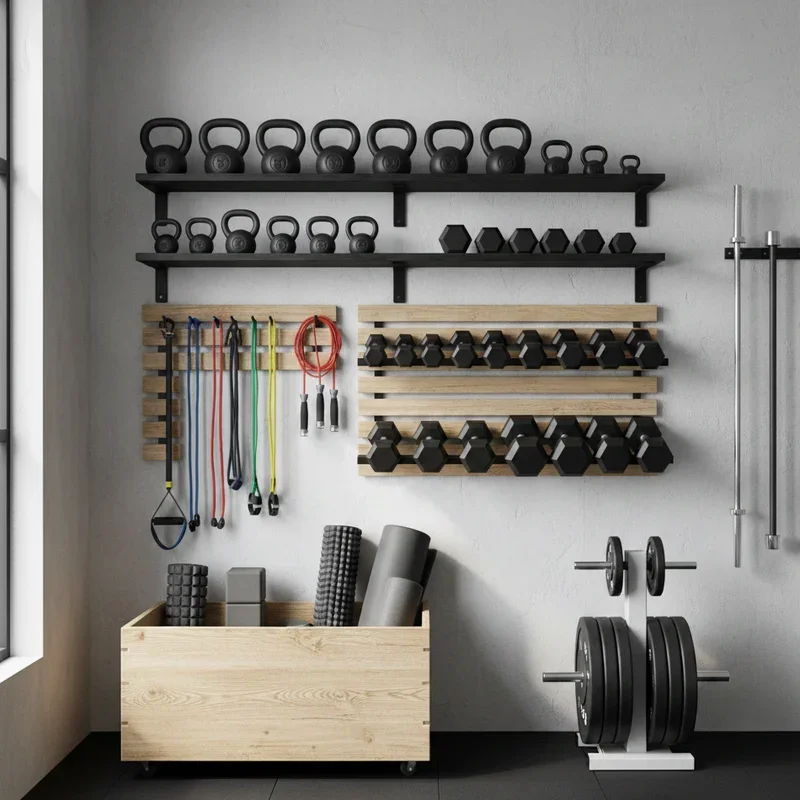
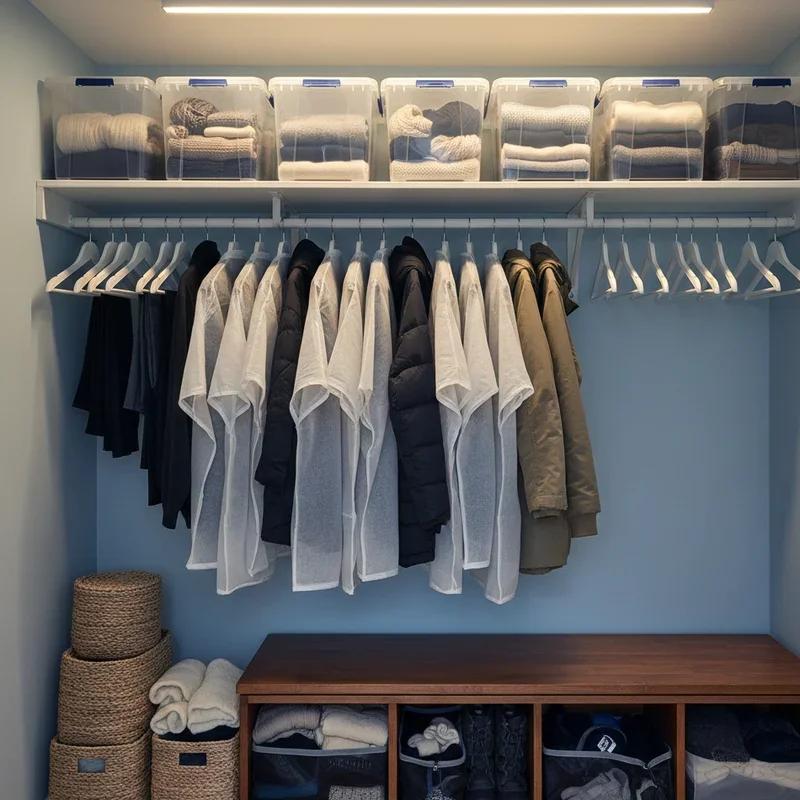
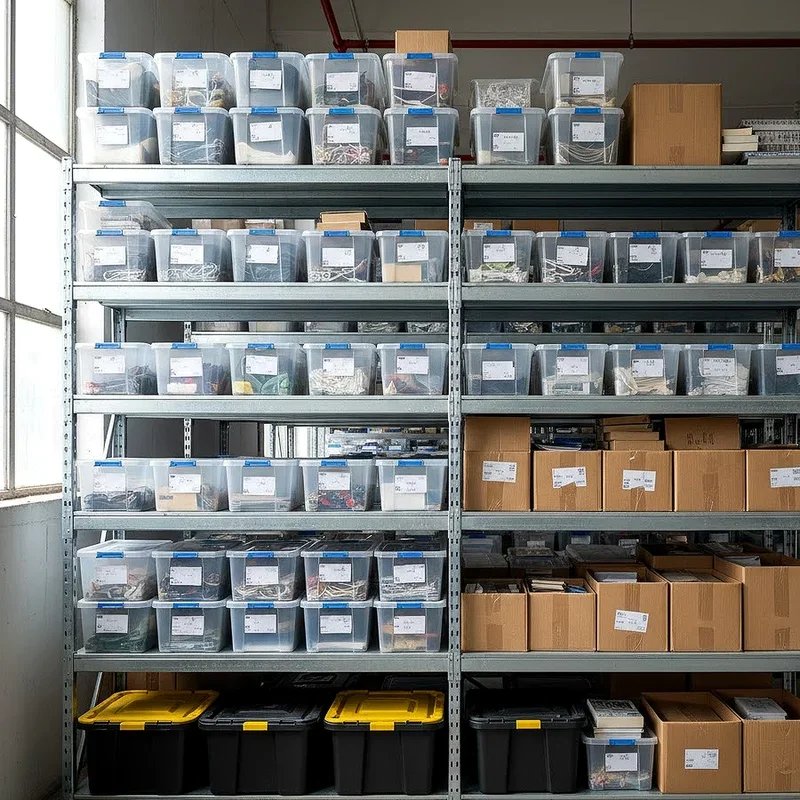
Organizing and Loading Your New Shelves
Finally, the fun part. But hold on, don't just start throwing stuff up there randomly. Think strategically about organization. This How to Build Storage Shelves Step-by-Step Guide wouldn't be complete without talking about actually using your creation.
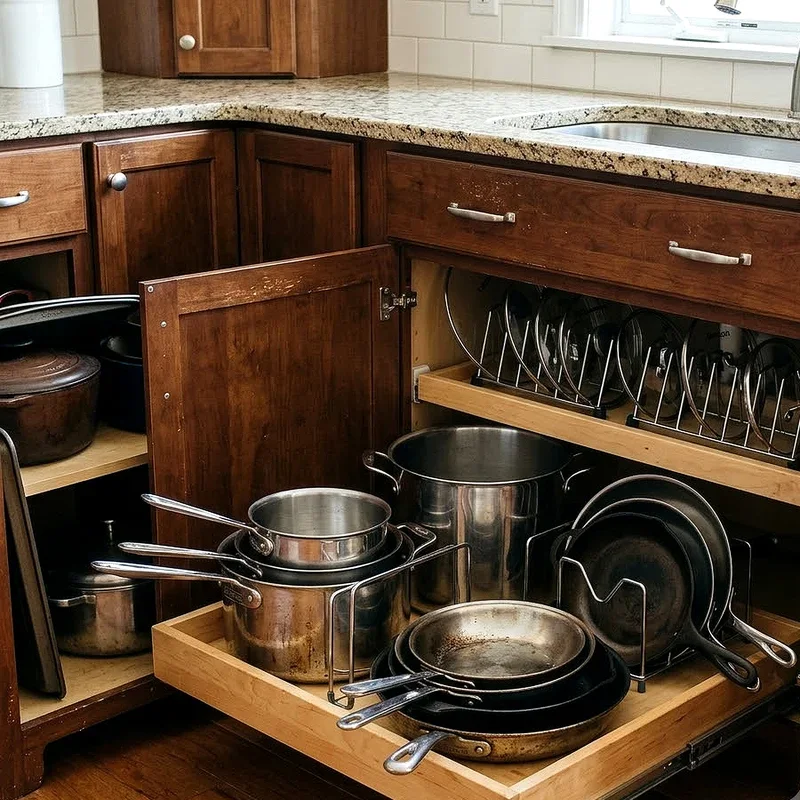
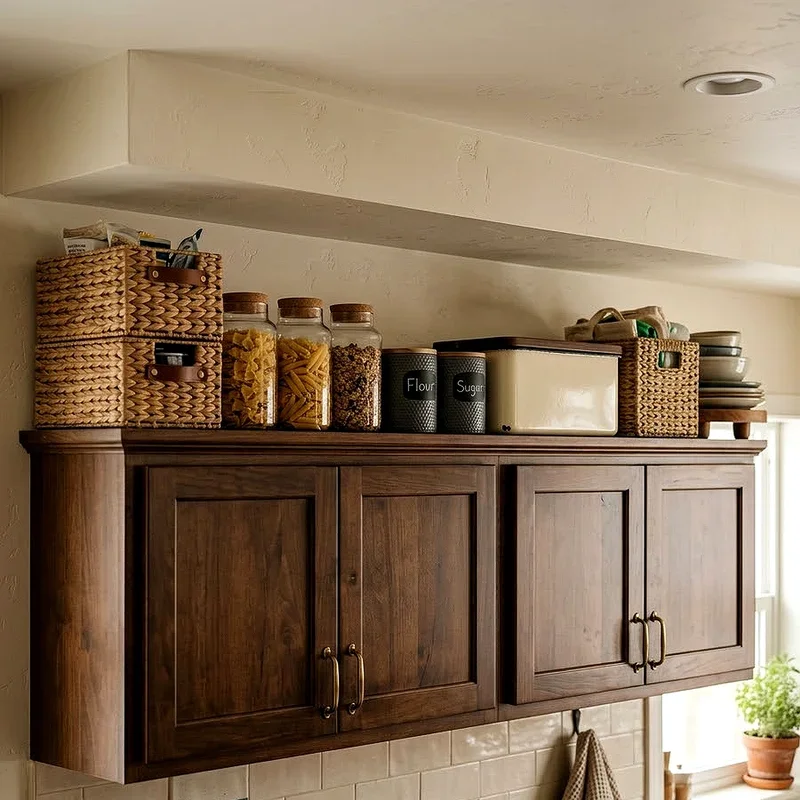
Place heavy items on lower shelves. This keeps the center of gravity low and makes your unit more stable. Reserve top shelves for lightweight, seldom-used items. Group similar items together. All your paint supplies in one area, sporting goods in another, holiday decorations somewhere else.
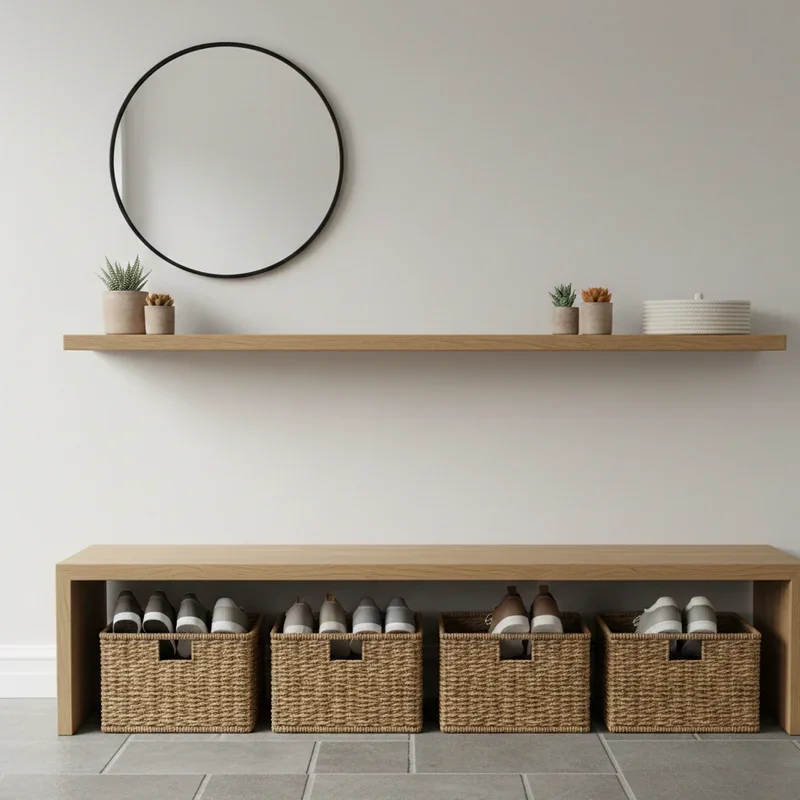
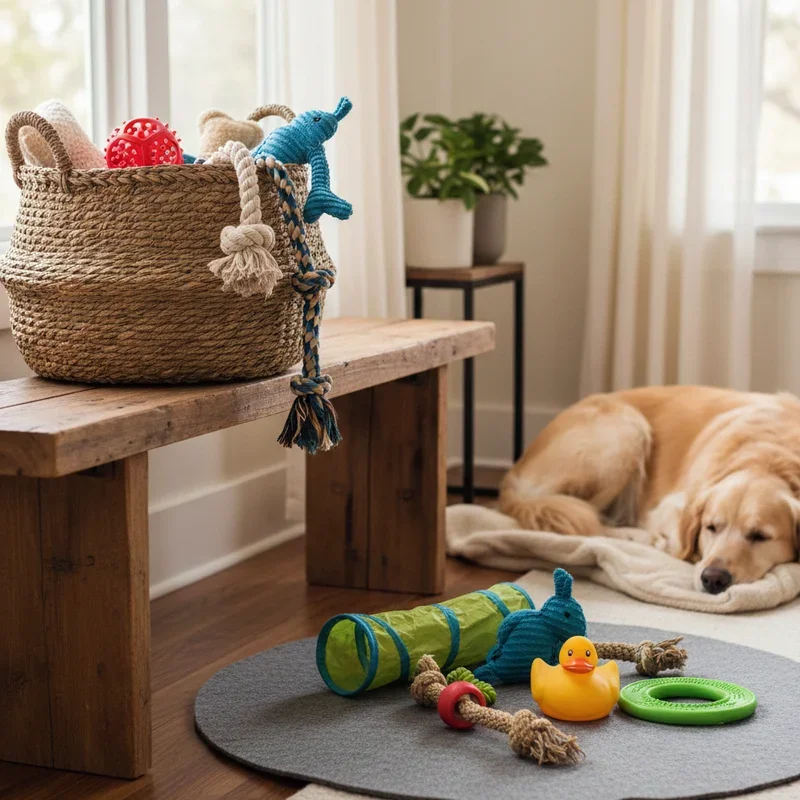
Leave some breathing room. Cramming every inch of space might seem efficient, but it makes finding things harder and looks messy. Consider using bins or baskets for small items. They prevent little things from getting lost in the back of deep shelves. Clear containers let you see what's inside without digging around.
Common Mistakes to Avoid and Maintenance Tips
Let's talk about where people typically mess up. First mistake? Skipping the planning phase and just winging it. Spending an extra hour planning saves days of frustration later. Using wood that's too thin for the span is another classic error. An eight-foot shelf made from half-inch plywood will sag like a hammock. When in doubt, go thicker.
Not accounting for the actual dimensions of lumber trips up beginners. A two-by-four isn't actually two inches by four inches. It's more like one and a half by three and a half. Forgetting to anchor tall units to walls is dangerous. An unanchored shelf loaded with stuff can tip over with surprising ease.
For maintenance, check all connections every few months. Screws can work loose over time. Watch for signs of stress like sagging shelves. Keep shelves clean and dry, as moisture is wood's enemy. Don't be afraid to modify your shelves as needs change. That's the beauty of building them yourself.

Cost Breakdown and Budget Considerations
Wondering what this'll set you back? The beauty of this How to Build Storage Shelves Step-by-Step Guide is that you can build quality storage without breaking the bank. A basic eight-foot tall, four-foot wide unit with five shelves runs about 50 to 100 dollars in materials, depending on your lumber choices.
Pine is budget-friendly and works fine for most applications. Plywood costs more but spans longer distances without support. Tools are your biggest variable if you're starting from scratch. However, these tools serve you for countless future projects. Borrowing from friends or renting from hardware stores bridges the gap if buying isn't in the budget right now.
Compare this to buying premade shelving units. Quality premade units often cost two to three times what you'd spend building your own, and they still might not fit your space perfectly. Factor in your time too. Building shelves takes a weekend for most people, but the satisfaction of creating something makes that time investment worthwhile.
Conclusion
Building your own storage shelves isn't rocket science, but it does require patience, planning, and a bit of elbow grease. You've learned everything from choosing materials to that final satisfying moment when you load up your new shelves. The skills you've picked up here extend beyond this single project. You're now equipped to tackle all sorts of DIY furniture builds. Remember, every expert was once a beginner who didn't give up. Your shelves might not be perfect, but they're yours, and that counts for something.
Read next: 15 Garage Shelving Ideas for Organized Storage
Frequently Asked Questions
Q1. What type of wood is best for building storage shelves?
A: Pine or plywood works great for most projects, balancing cost and strength effectively.
Q2. How much weight can homemade shelves typically hold?
A: Properly built shelves hold 50 to 100 pounds per linear foot with adequate support.
Q3. Do I need advanced carpentry skills to build storage shelves?
A: No, basic measuring, cutting, and drilling skills are sufficient for most shelf projects.
Q4. How long does it take to build a basic shelf unit?
A: Most people complete a basic unit in one weekend, roughly 8 to 12 hours.
Q5. Should I paint or stain my shelves before or after assembly?
A: Finish individual pieces before assembly for easier application and better coverage throughout.
Stay up to date with our latest ideas!