15 Clever Seed Storage Ideas for Gardeners
Looking to keep your seeds fresh and viable? Explore these 15 creative, easy-to-implement seed storage solutions that help gardeners stay organized and ensure a thriving garden season after season.
Have you ever rummaged through your gardening stash, only to find half-torn seed packets scattered like confetti? Or wondered why certain seeds never sprout despite your careful nurturing? Proper seed storage could be the missing link between an abundant harvest and a garden that fails to flourish. For many gardeners, seeds represent both possibility and promise—tiny vessels of life waiting to unfold into vibrant blooms or hearty vegetables. Yet without the right preservation strategies, these delicate wonders can lose their vitality long before they ever meet soil. In this article, we’ll explore 15 clever seed storage ideas, each designed to help you protect, organize, and extend the viability of your seeds. Ready to dig in? Let’s get started on giving those seeds the best shot at success!
1. The Importance of Proper Seed Storage
Have you ever planted a row of seeds with all the optimism in the world, only to be met with dismal germination results? One likely culprit is poor seed storage. Seeds are living organisms, even in their dormant state, and they need stable conditions to retain their vigor. If exposed to humidity, high temperatures, or pests, seeds can degrade rapidly and lose the energy they need to sprout. By investing a bit of time and thought into storage techniques, you can keep your seeds in tip-top shape until you’re ready to plant. It’s like giving them a comfortable hibernation chamber—shielded from extreme elements and sealed away from trouble. With the right approach, you’ll find that your seeds not only last longer but also produce more robust and abundant harvests.
2. Airtight Jars and Containers
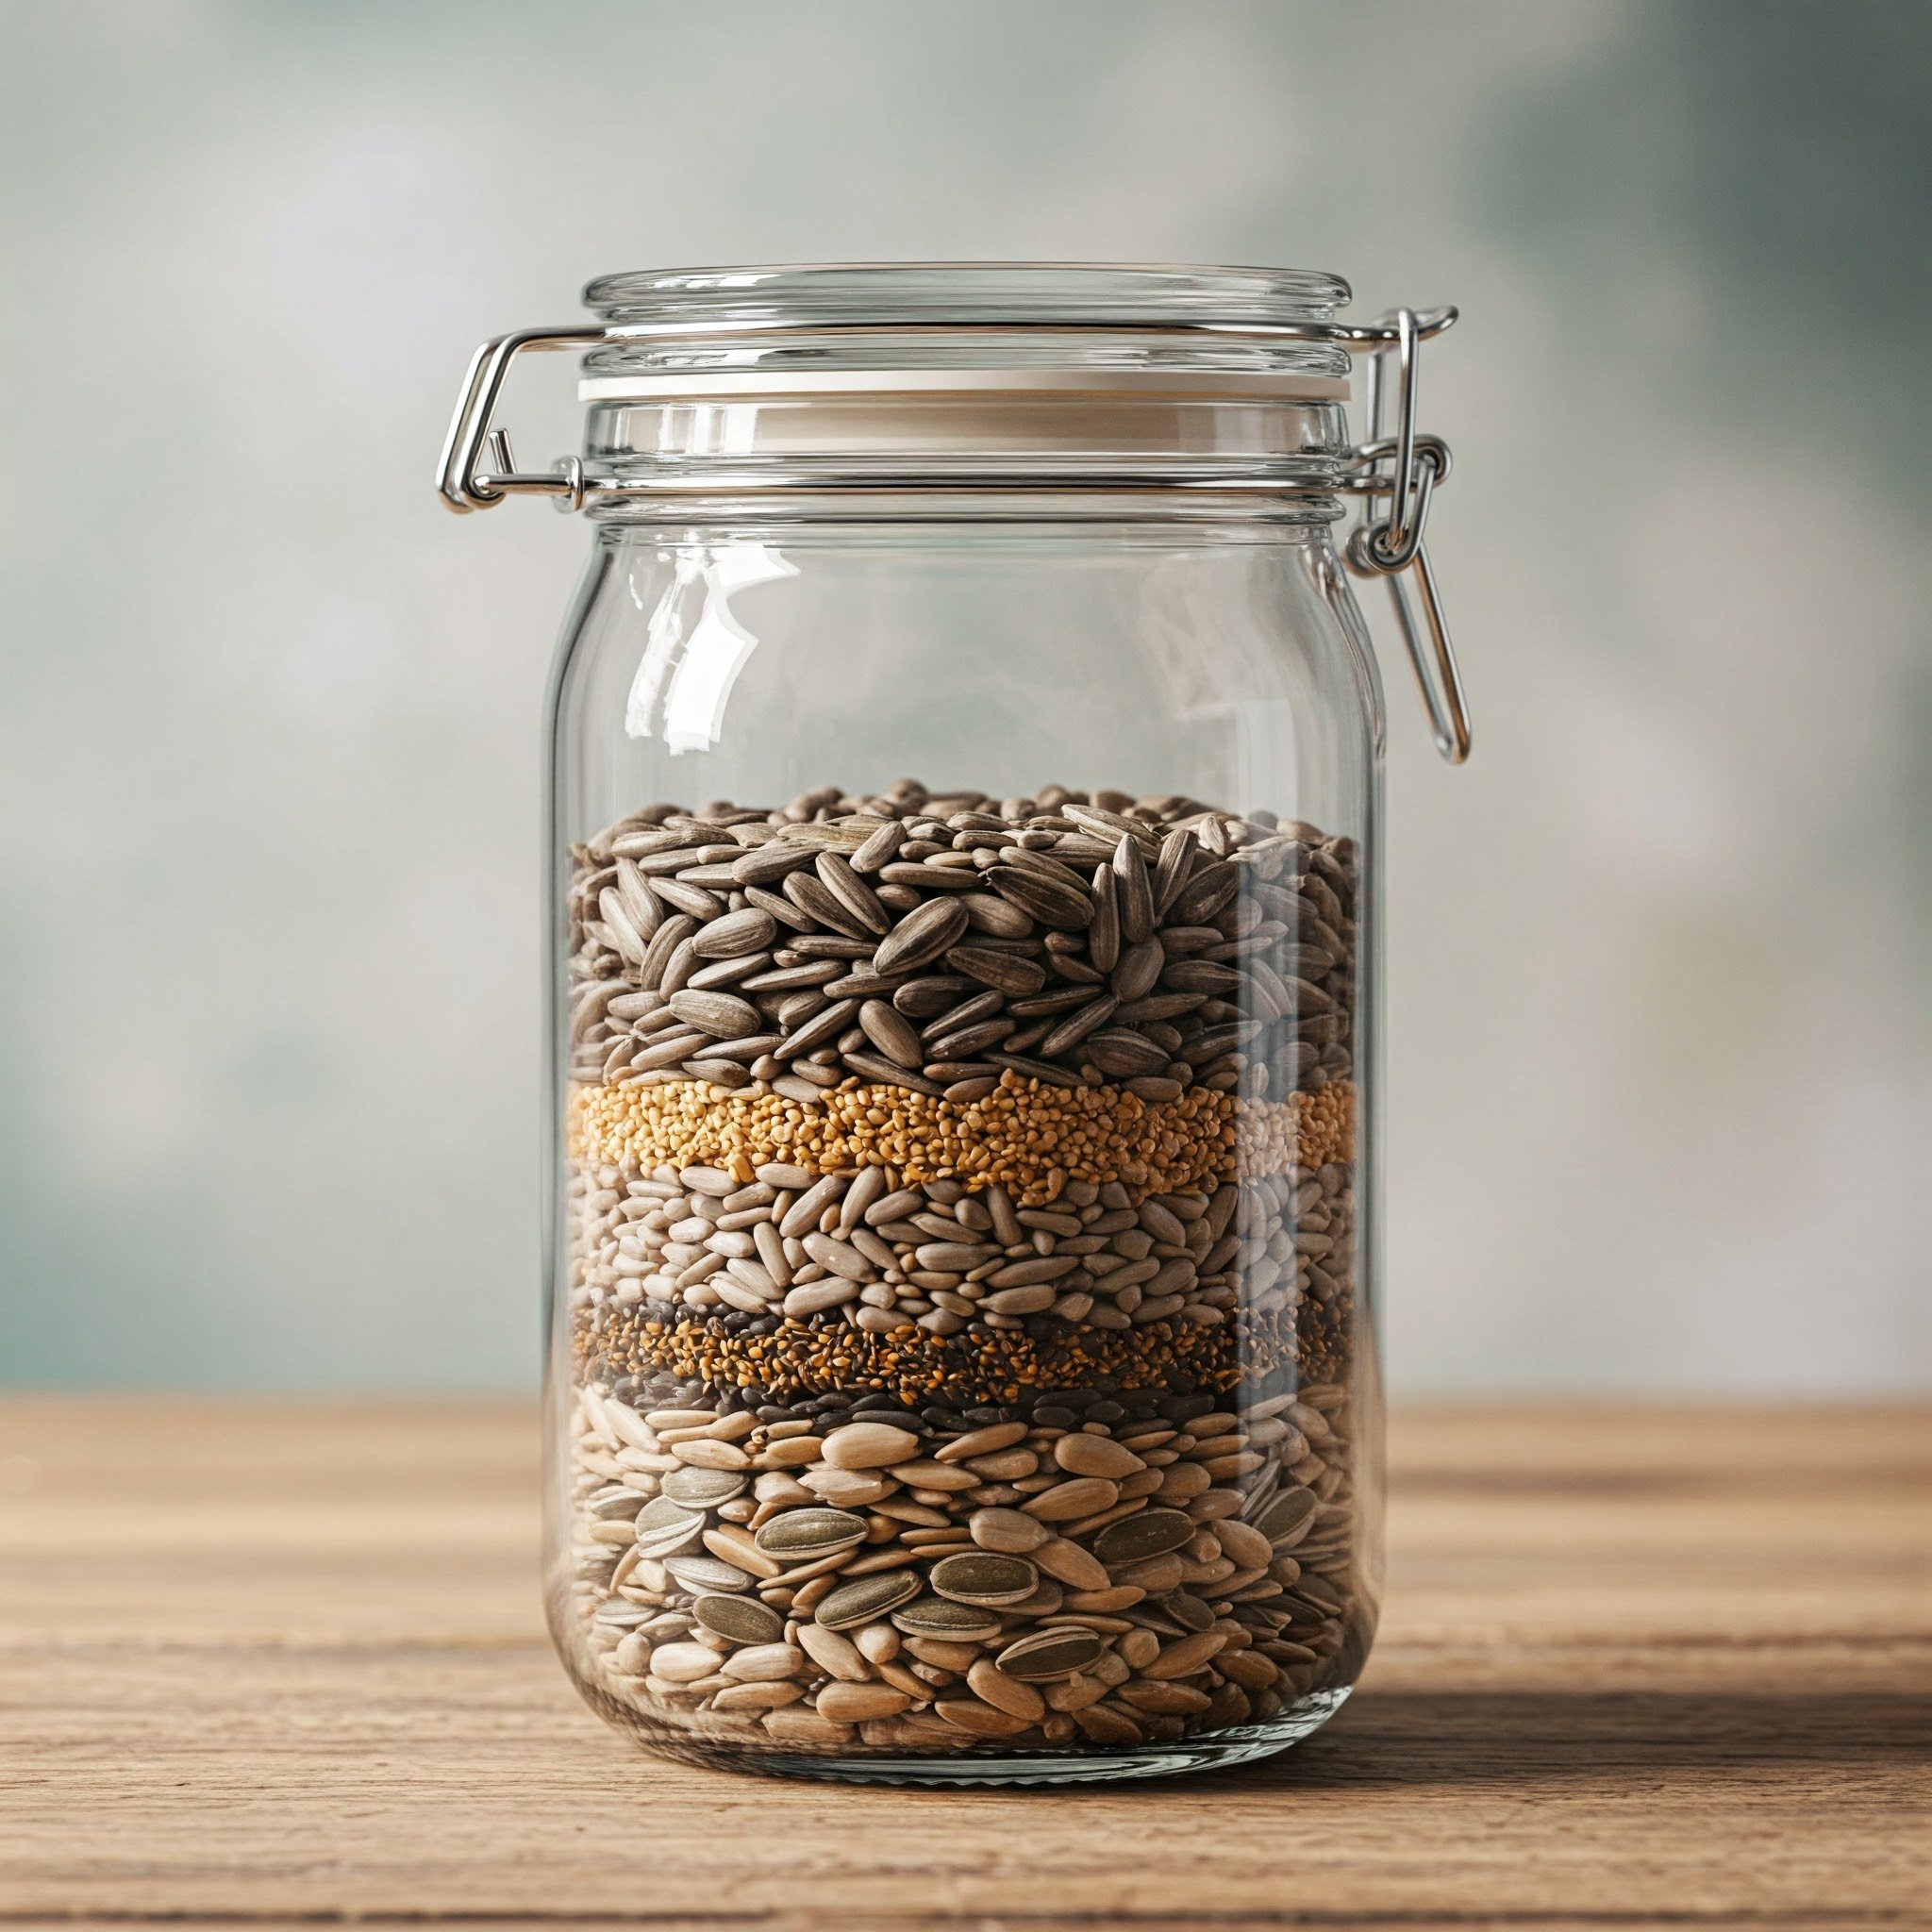
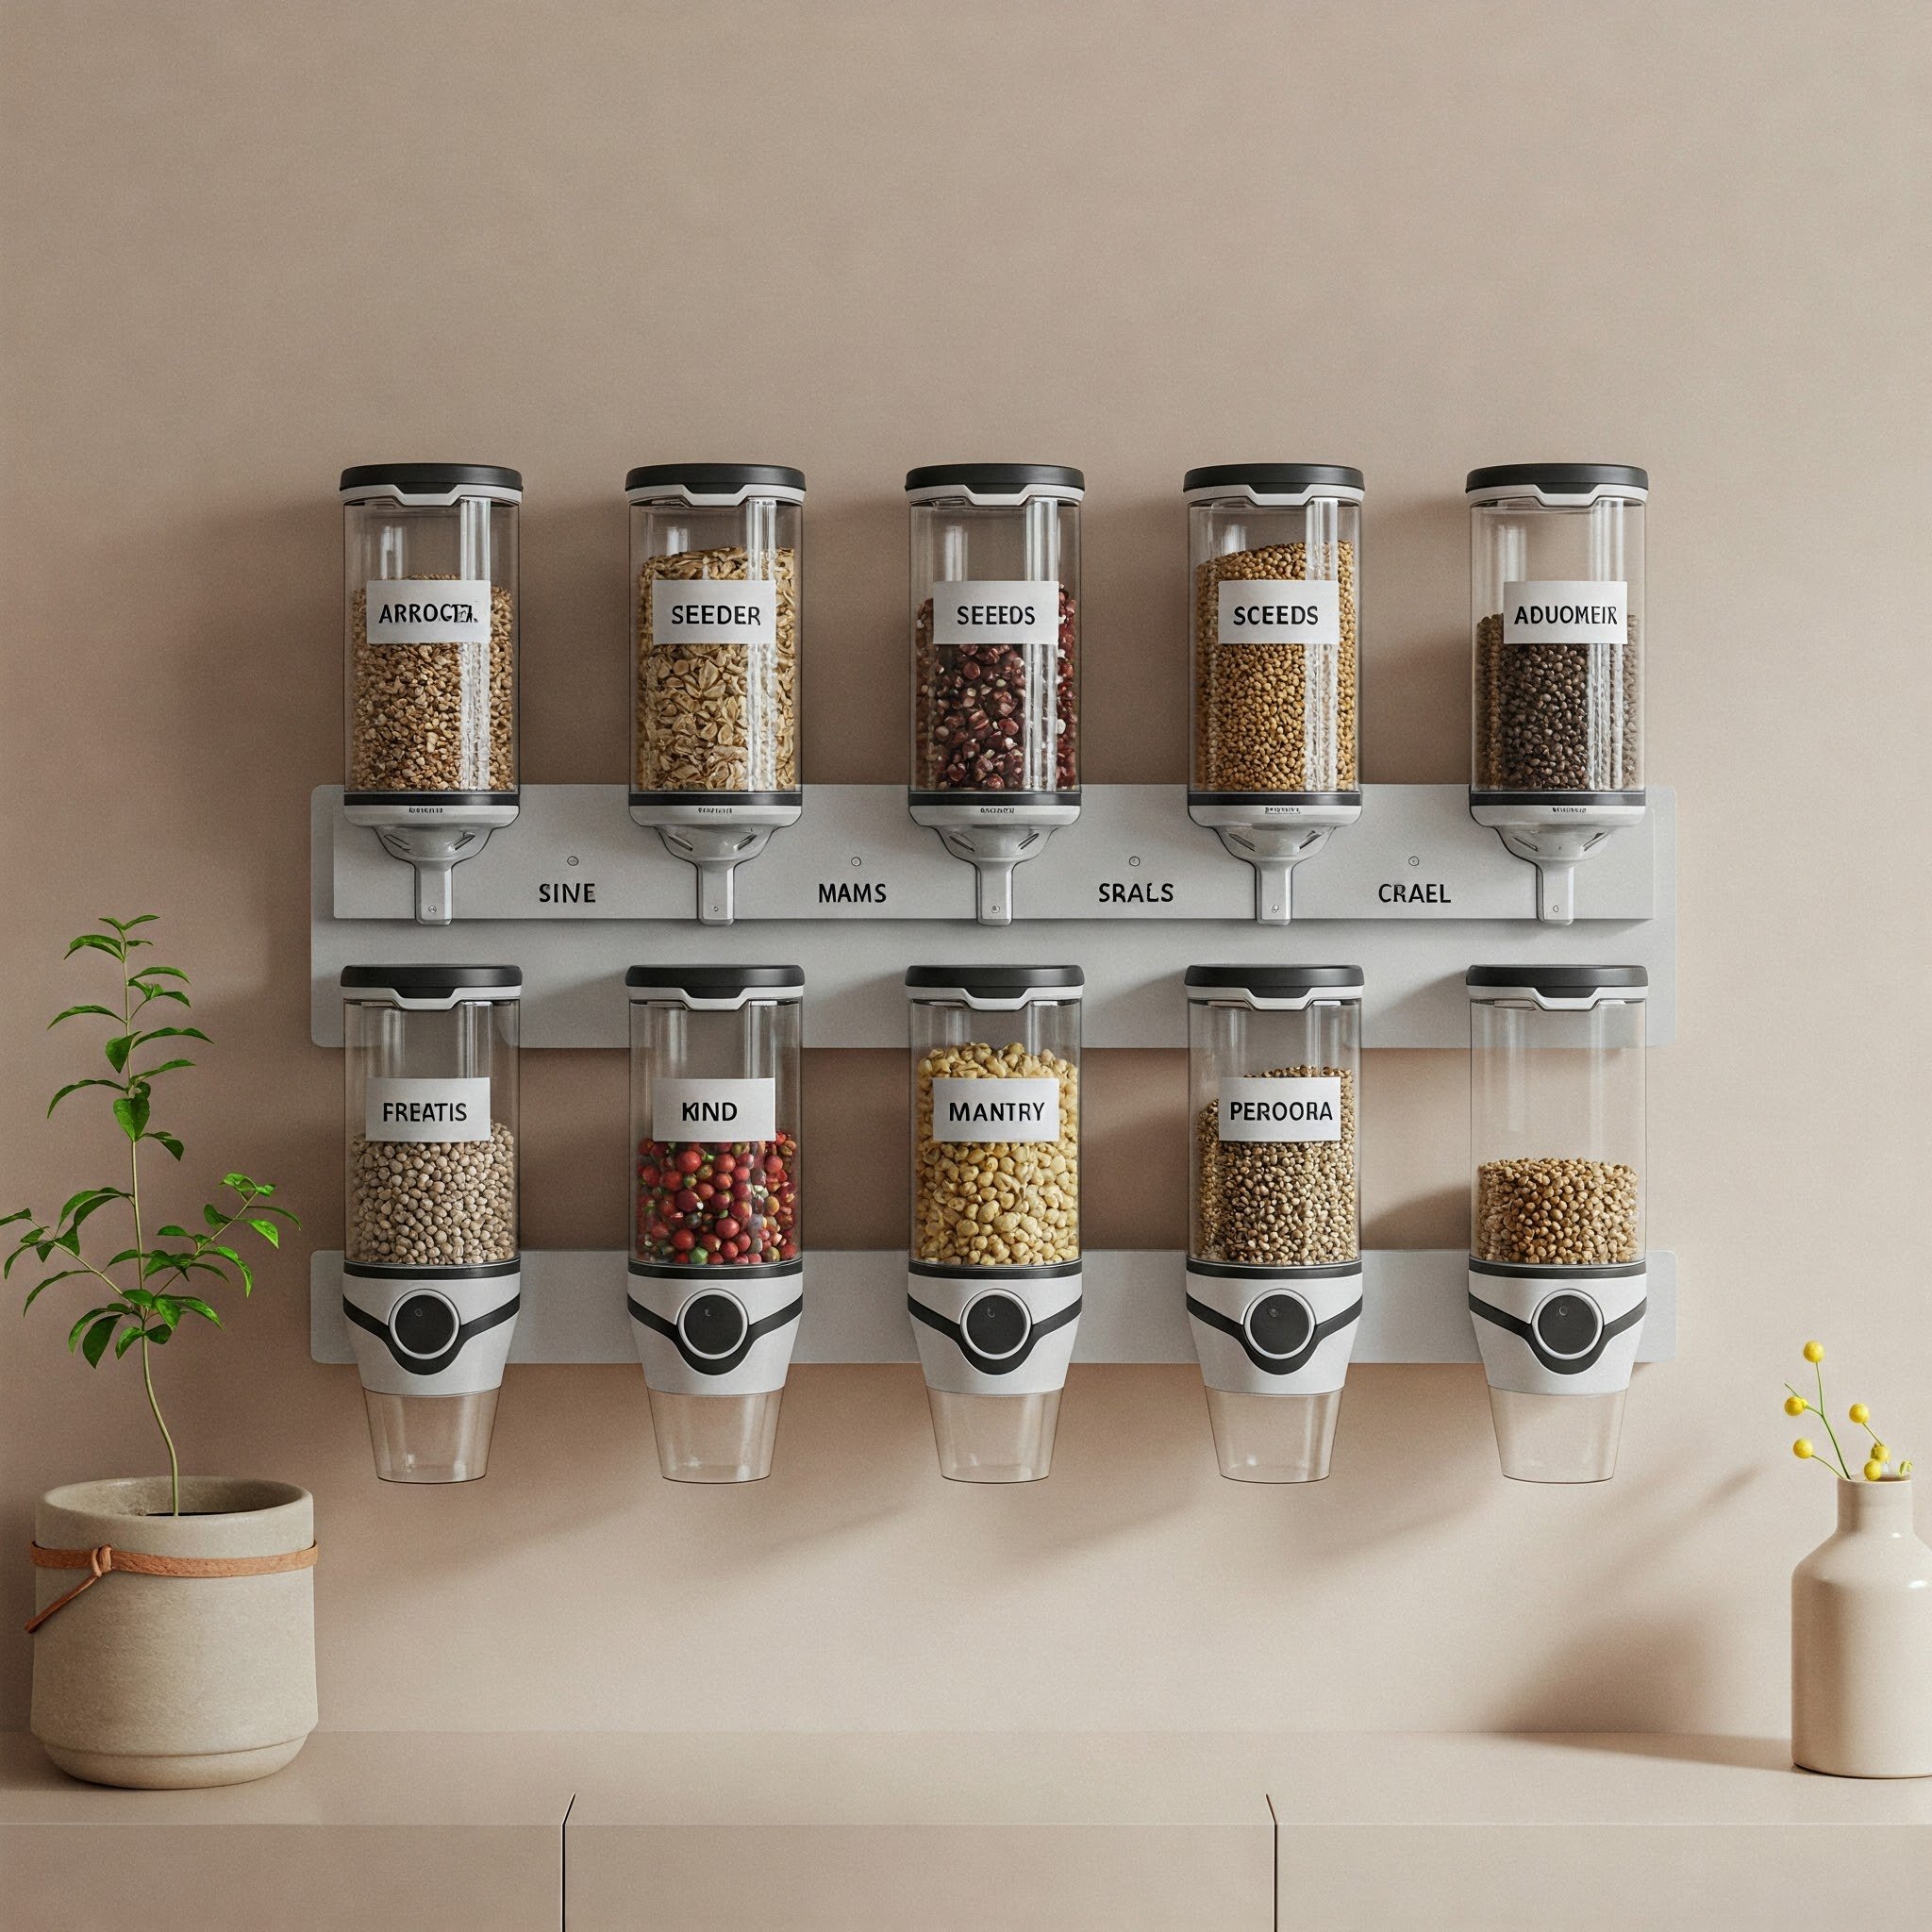
When in doubt, reach for an airtight container. Glass jars with tight-fitting lids—like those used for canning or storing pantry staples—are a tried-and-true option. Even small plastic containers with rubber gaskets can do the trick. By sealing out excess air and moisture, you offer your seeds a stable environment that extends their shelf life. Plus, the clear walls let you see exactly what’s inside without having to pop the lid. Keep them in a cool, dark spot, such as a cupboard or closet, to further safeguard against temperature fluctuations and sunlight exposure. Think of these jars as protective domes: once your seeds go in, they’re shielded from the ups and downs of the outside world. And with a little creative labeling, your stash becomes as organized as it is well-preserved.

3. Recycled Spice Tins
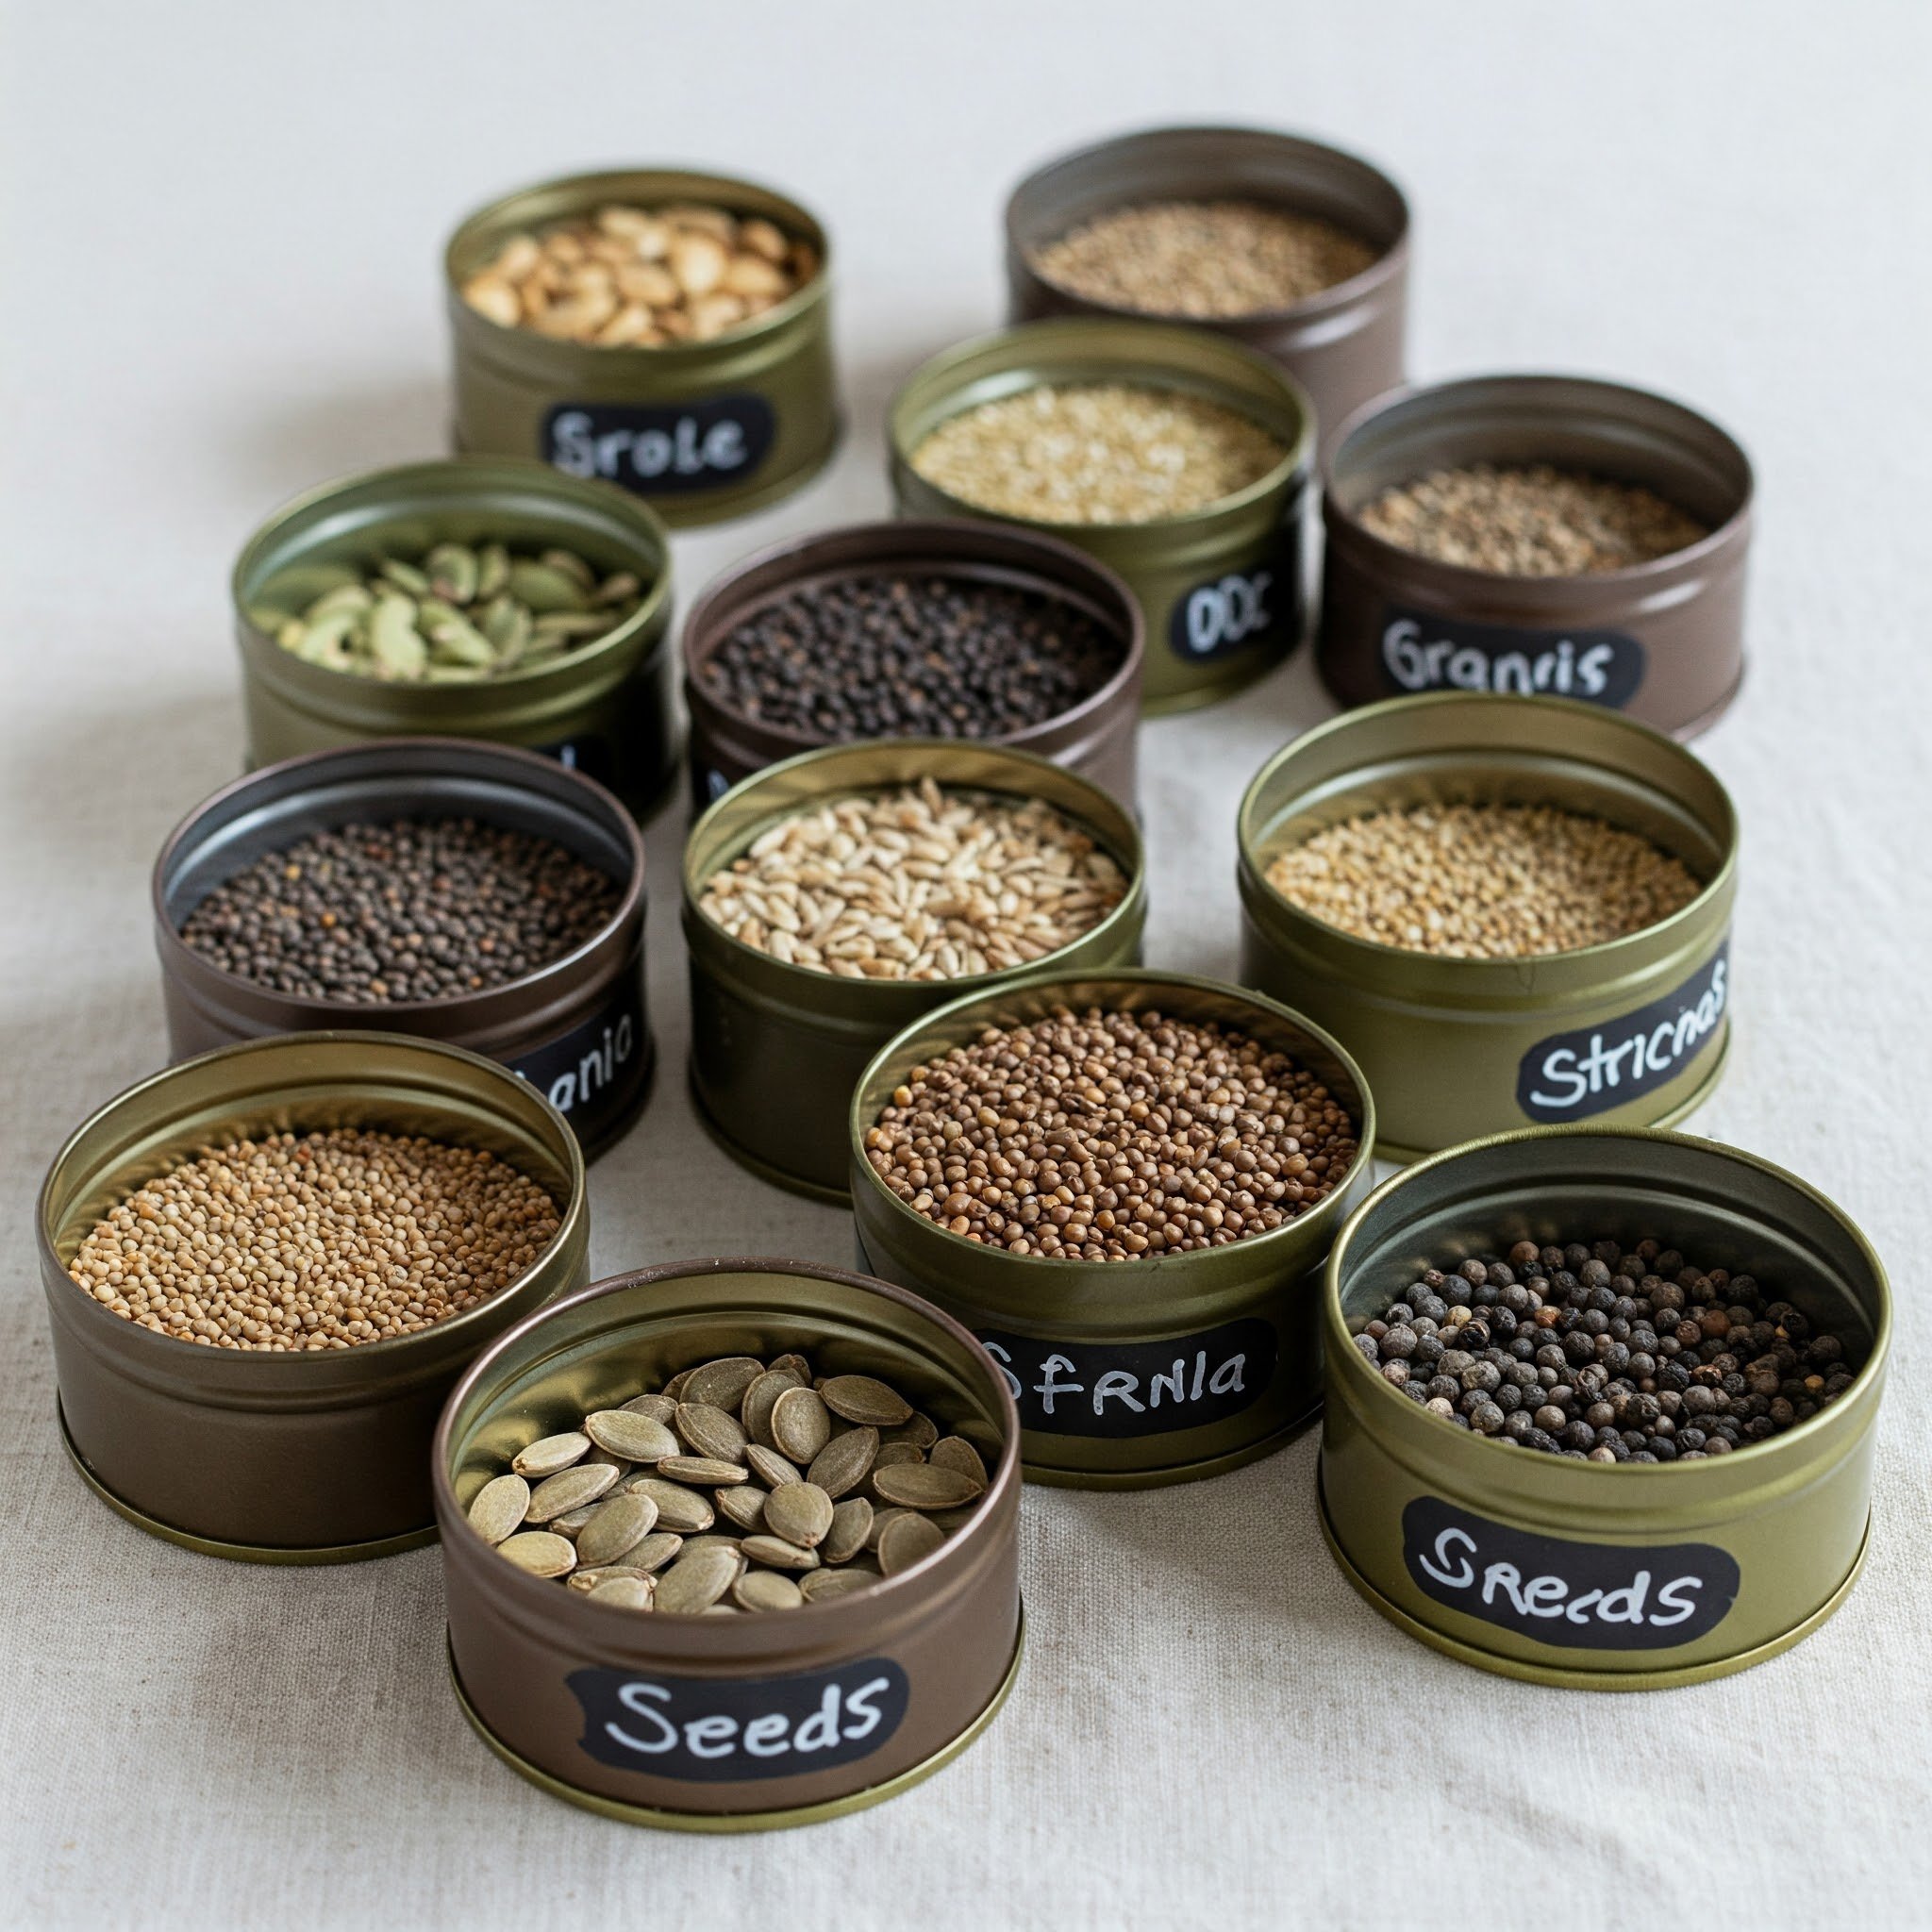
Ever finish a jar of cinnamon or oregano and wonder if it’s destined for the recycling bin? You might want to keep it around for seed storage instead. Recycled spice tins are surprisingly convenient thanks to their compact size and often snug-fitting lids. Many even come with shaker tops that can be removed, making it easier to pour seeds out when you’re ready to sow. If the container isn’t fully airtight, slip your seeds into small sealable plastic bags before placing them in the tin. This extra barrier helps block out moisture. Plus, these tins stack neatly in a drawer or on a shelf, saving you precious storage space. With a fresh label or two, they become an eco-friendly solution that keeps both your seeds and the planet in mind.
4. Envelopes and Paper Packs
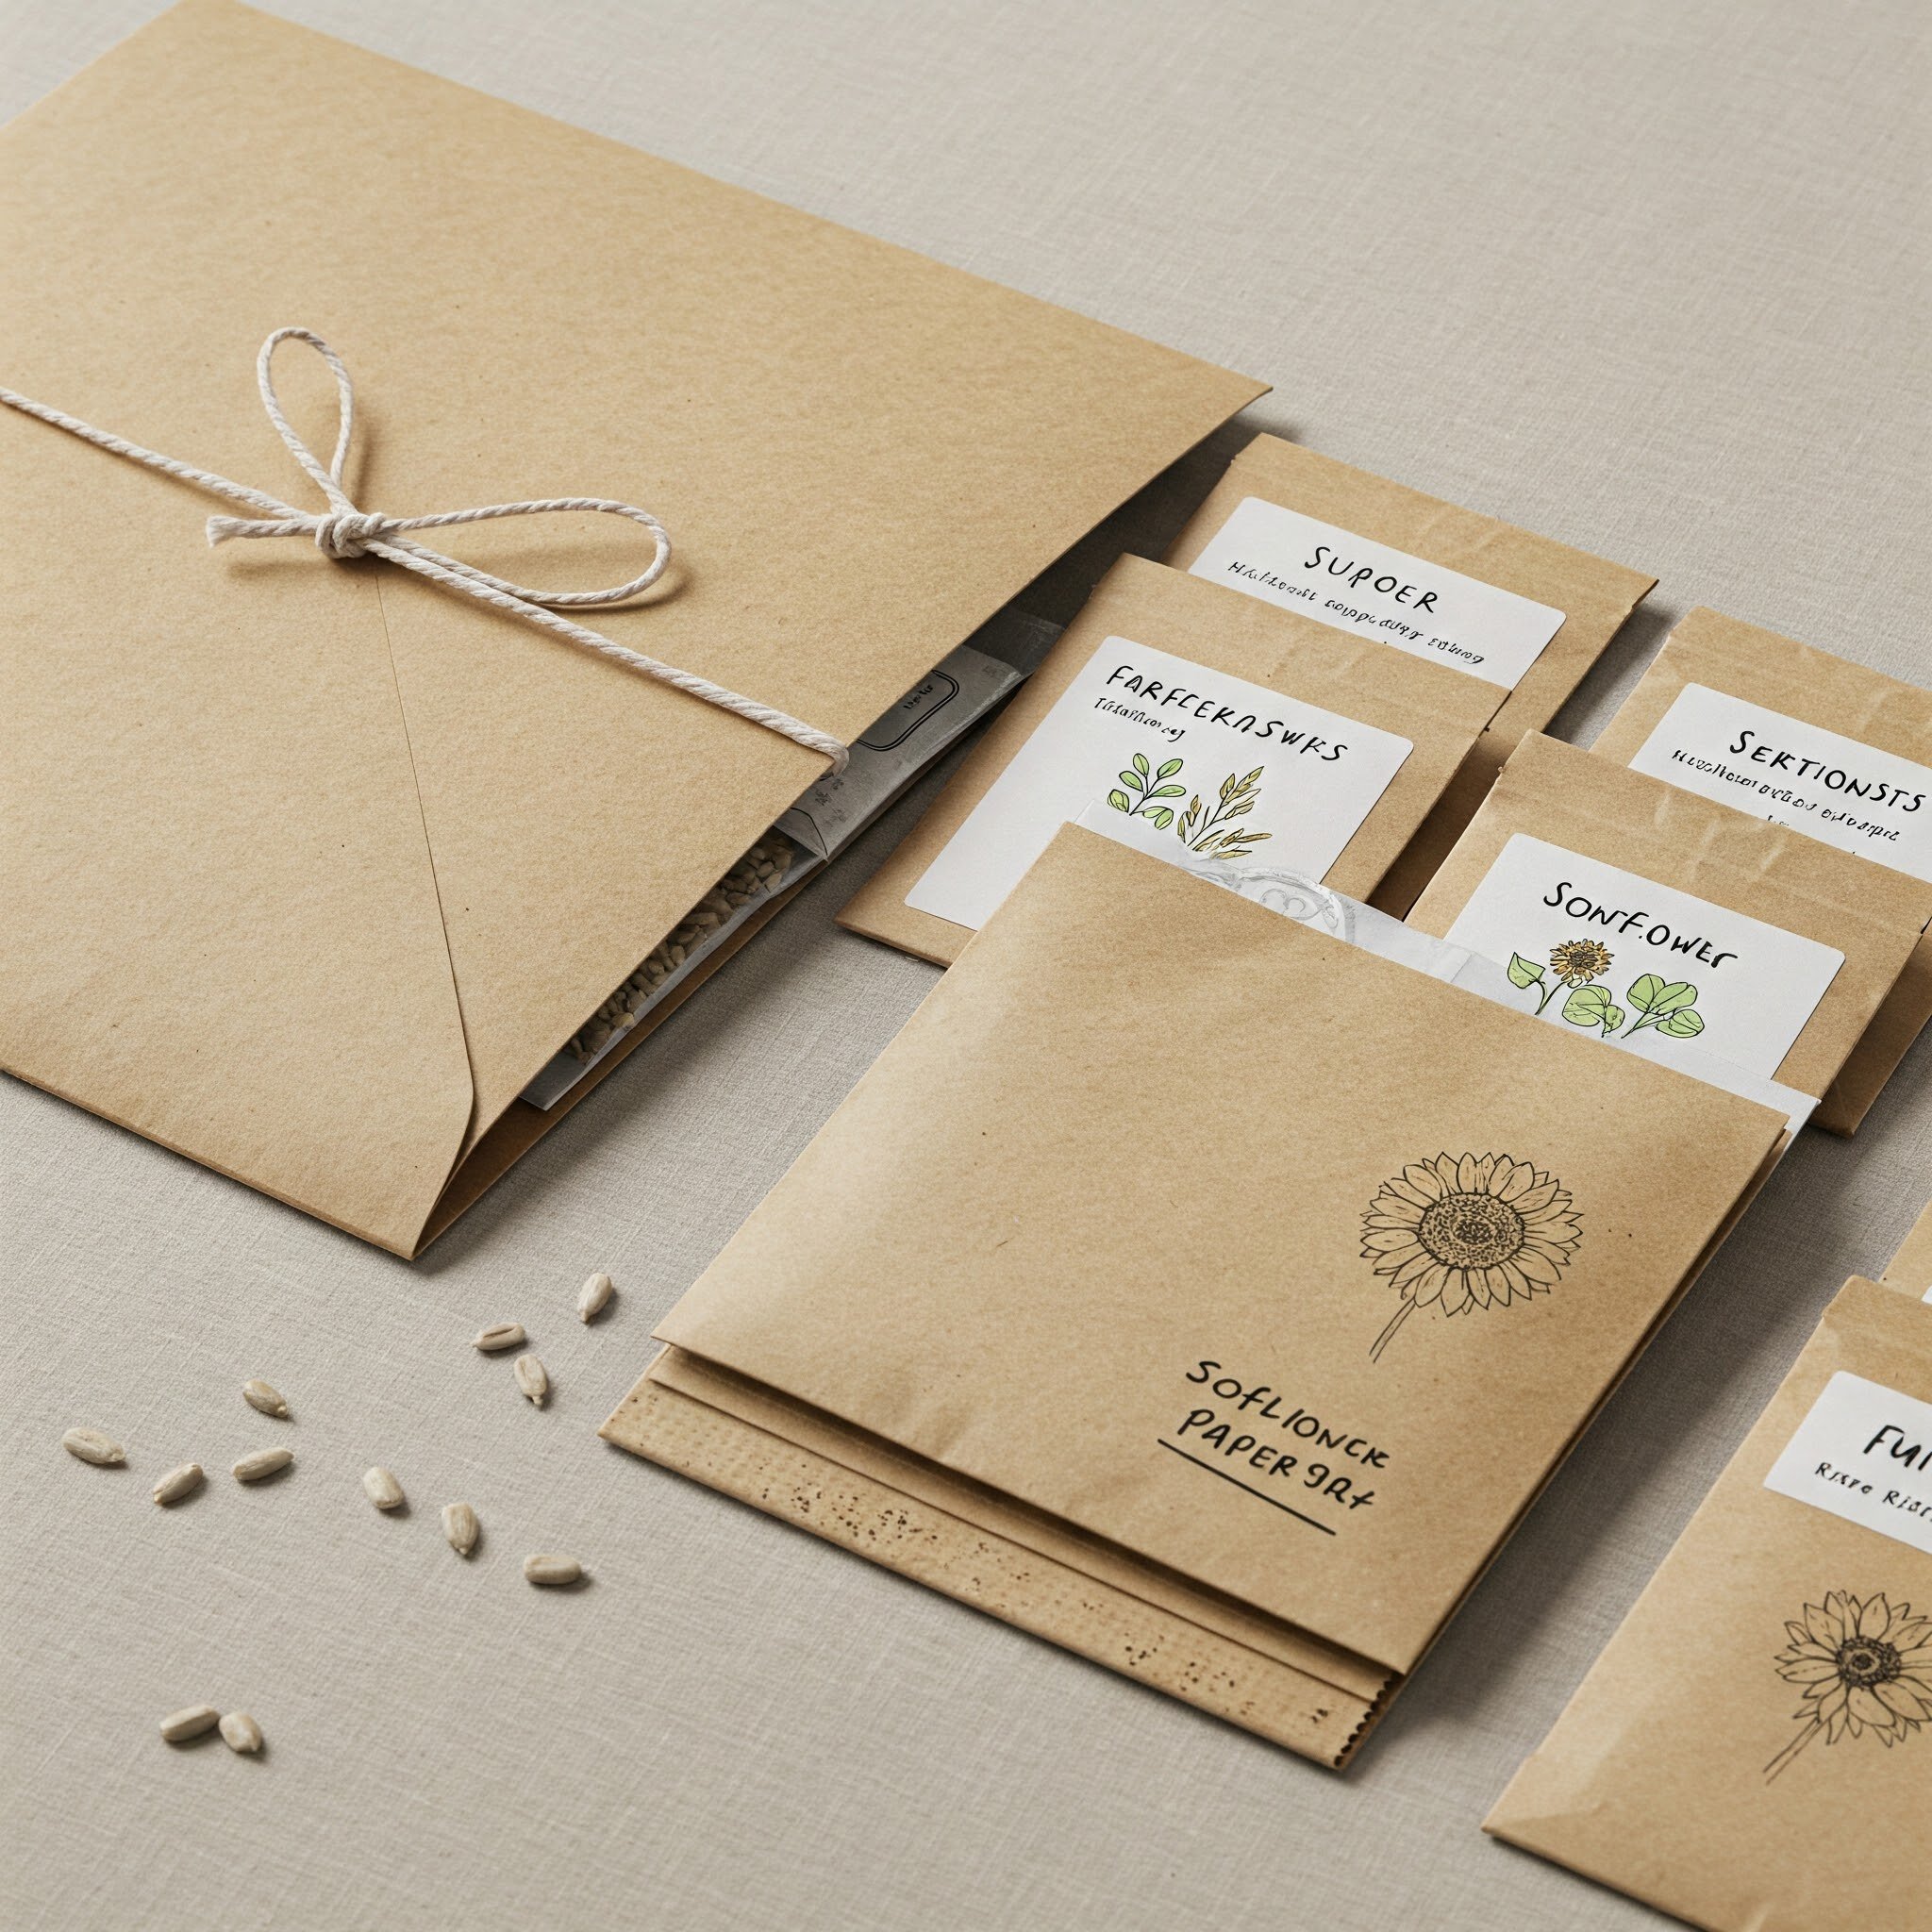
Sometimes the simplest route is the best. Paper envelopes—whether store-bought or homemade—offer a practical and breathable container for smaller seed varieties. The paper material absorbs any minor moisture, preventing mildew or fungus from taking hold. Think of it like giving your seeds a cozy paper blanket. You can purchase seed envelopes online or get crafty by folding your own from leftover wrapping or scrapbook paper. On each envelope, jot down the seed type, collection date, and any crucial planting notes. This personal touch makes it easier to keep track of what’s inside without rummaging through multiple packets. To increase longevity, store these envelopes in a sturdy box or tin. It’s a low-cost, no-frills approach that appeals to gardeners who love a touch of timeless charm in their organizing game.
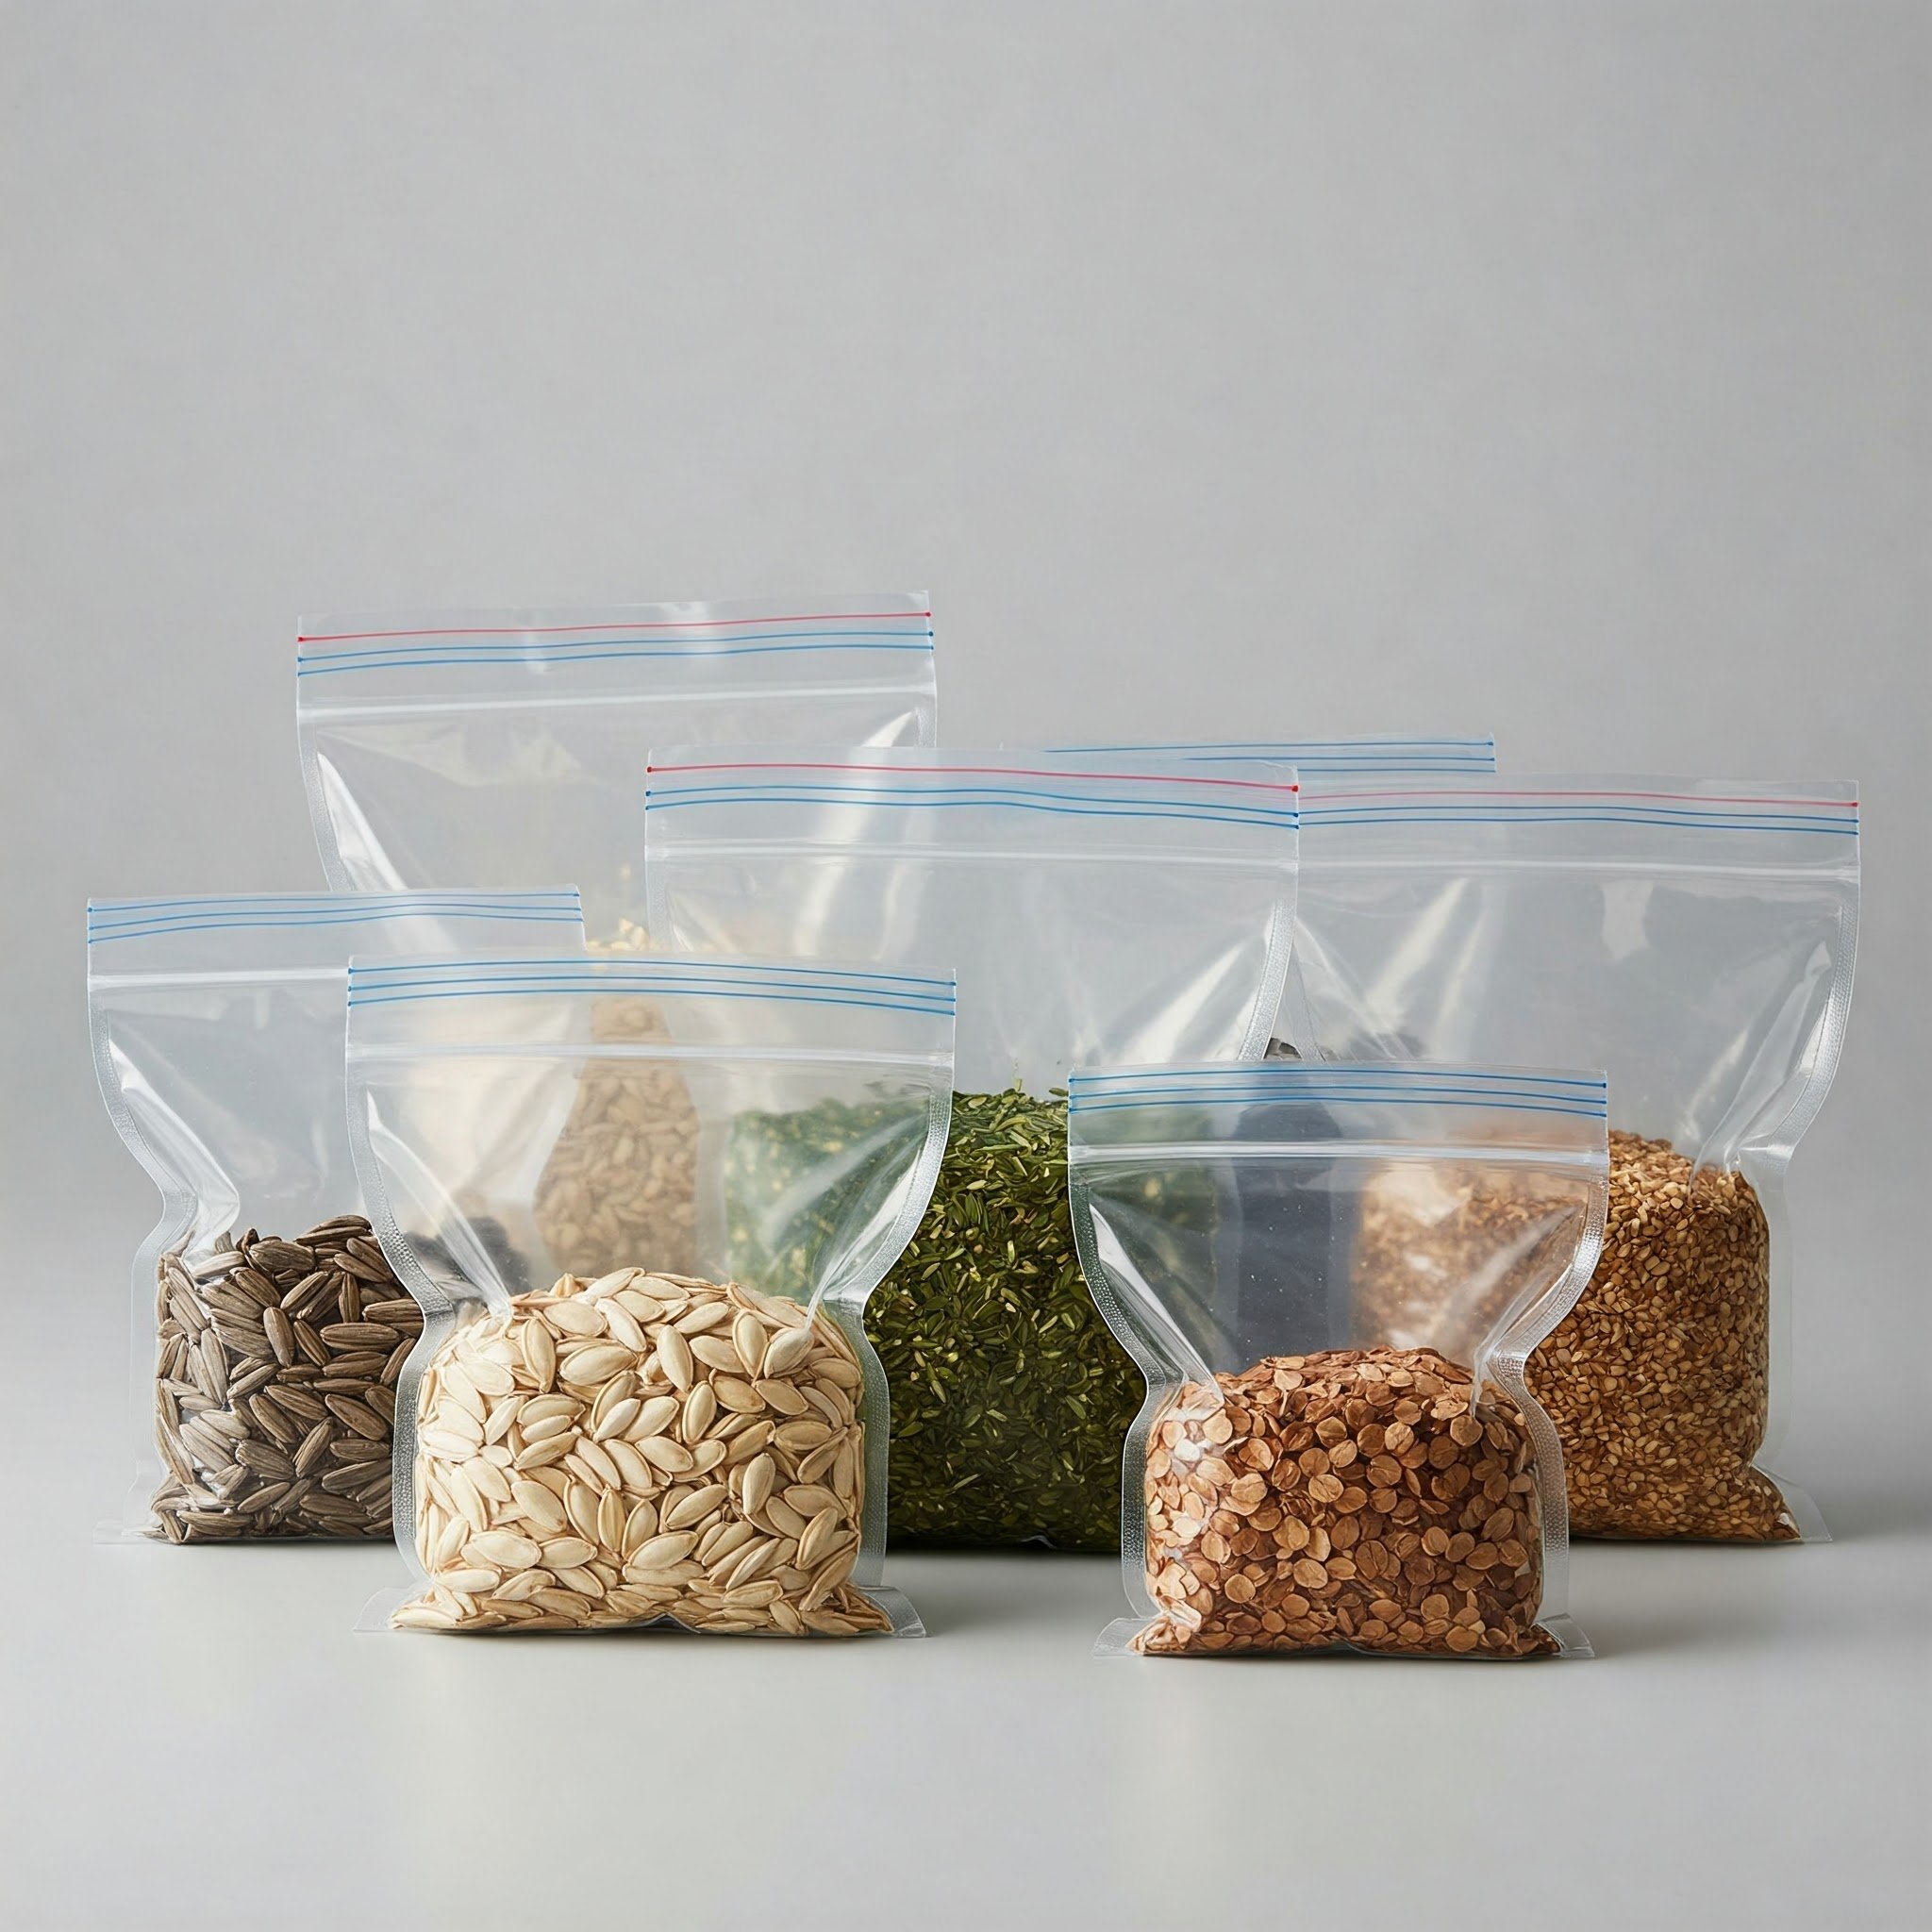
5. Vacuum-Sealed Bags
If you’ve ever tried vacuum-sealing leftovers or fresh produce, you know how effective it can be at preserving freshness. The same logic applies to seeds. By removing the air around them, vacuum-sealed bags drastically reduce the risk of mold or pests creeping in. These bags often come with a handheld pump or require a specialized machine. Either way, once sealed, the seeds rest in a quasi-airtight chamber that helps them stay dormant. Just ensure they’re fully dried before sealing—trapping any moisture could lead to mildew. When sealed properly, you can tuck these bags into a dark drawer or even a freezer for long-term storage. Vacuum-sealing is like freezing time for your seeds, ensuring they’re ready to burst into life whenever you give them the green light.
6. Marvels of Mason Jars
Mason jars aren’t just for homemade jams or farmhouse chic décor—they’re also seed-storage powerhouses. Their thick glass walls regulate temperatures better than thinner plastic, and the metal lids typically feature a rubber seal that locks tight. Many gardeners love the aesthetic of clear mason jars lined up in a neat row, each labeled with the type of seed inside. If you’re worried about light exposure, wrap the jar in paper or store it in a dark cupboard. You could even use tinted mason jars for a decorative twist and extra light protection. This method isn’t just functional; it’s downright Instagram-worthy, giving your gardening supplies an artisanal flair. Think of mason jars as mini seed safes, merging old-fashioned charm with the practical needs of modern-day horticulture.

7. Repurposing Medicine Bottles
Got empty prescription or vitamin bottles piling up at home? They can be repurposed for convenient seed storage. These sturdy plastic containers are designed to protect sensitive items from moisture and light, making them an unexpected ally for gardeners. Rinse them well and ensure they’re fully dry before you transfer your seeds. You can remove the original labels or stick your own on top with relevant seed details. Their child-proof caps also add a layer of security—handy if you have pets or kids who like to explore. One tip: line the inside with a small piece of paper towel if you’re worried about residual moisture. By giving these orange or white bottles a second life, you’ll keep seeds safe and reduce waste, all in one practical swoop.

8. Crafting Custom Seed Catalogues
If you’re a binder-enthusiast or love the idea of a digital-free catalog, creating a custom seed catalogue might be your dream come true. Fill plastic trading-card sleeves or photo pages with small seed packets or envelopes labeled with vital info—like variety, harvest date, and growth preferences. Each page becomes a mini archive, letting you flip through your seeds like a collector browsing prized baseball cards. This method keeps everything flat, clearly visible, and easy to locate. Slide the entire binder onto a bookshelf or tuck it away in a drawer. It’s an organizational strategy that blends functionality with an almost scrapbooking-like joy. Consider adding notes about germination rates or planting tips on each page. By building your own seed catalogue, you’ll never again lose track of what you have or where you put it.

9. Temperature and Humidity Basics
When it comes to seed longevity, temperature and humidity are your best friends—or worst enemies, depending on how you manage them. Seeds prefer cool, dry conditions, often summarized by the “Rule of 100”—the combined temperature (in Fahrenheit) and relative humidity should not exceed 100 if you want seeds to thrive long-term. Storing seeds in a place like a basement closet can be ideal, as it typically stays below room temperature and has stable humidity levels. If your environment is humid or prone to temperature spikes, it might be time to add silica packets or move seeds into a dedicated container. Think of seeds like the house guests who detest surprise heat waves or soggy weather—they just want to settle in a calm, cozy space until you’re ready to wake them up with some soil and sunshine.

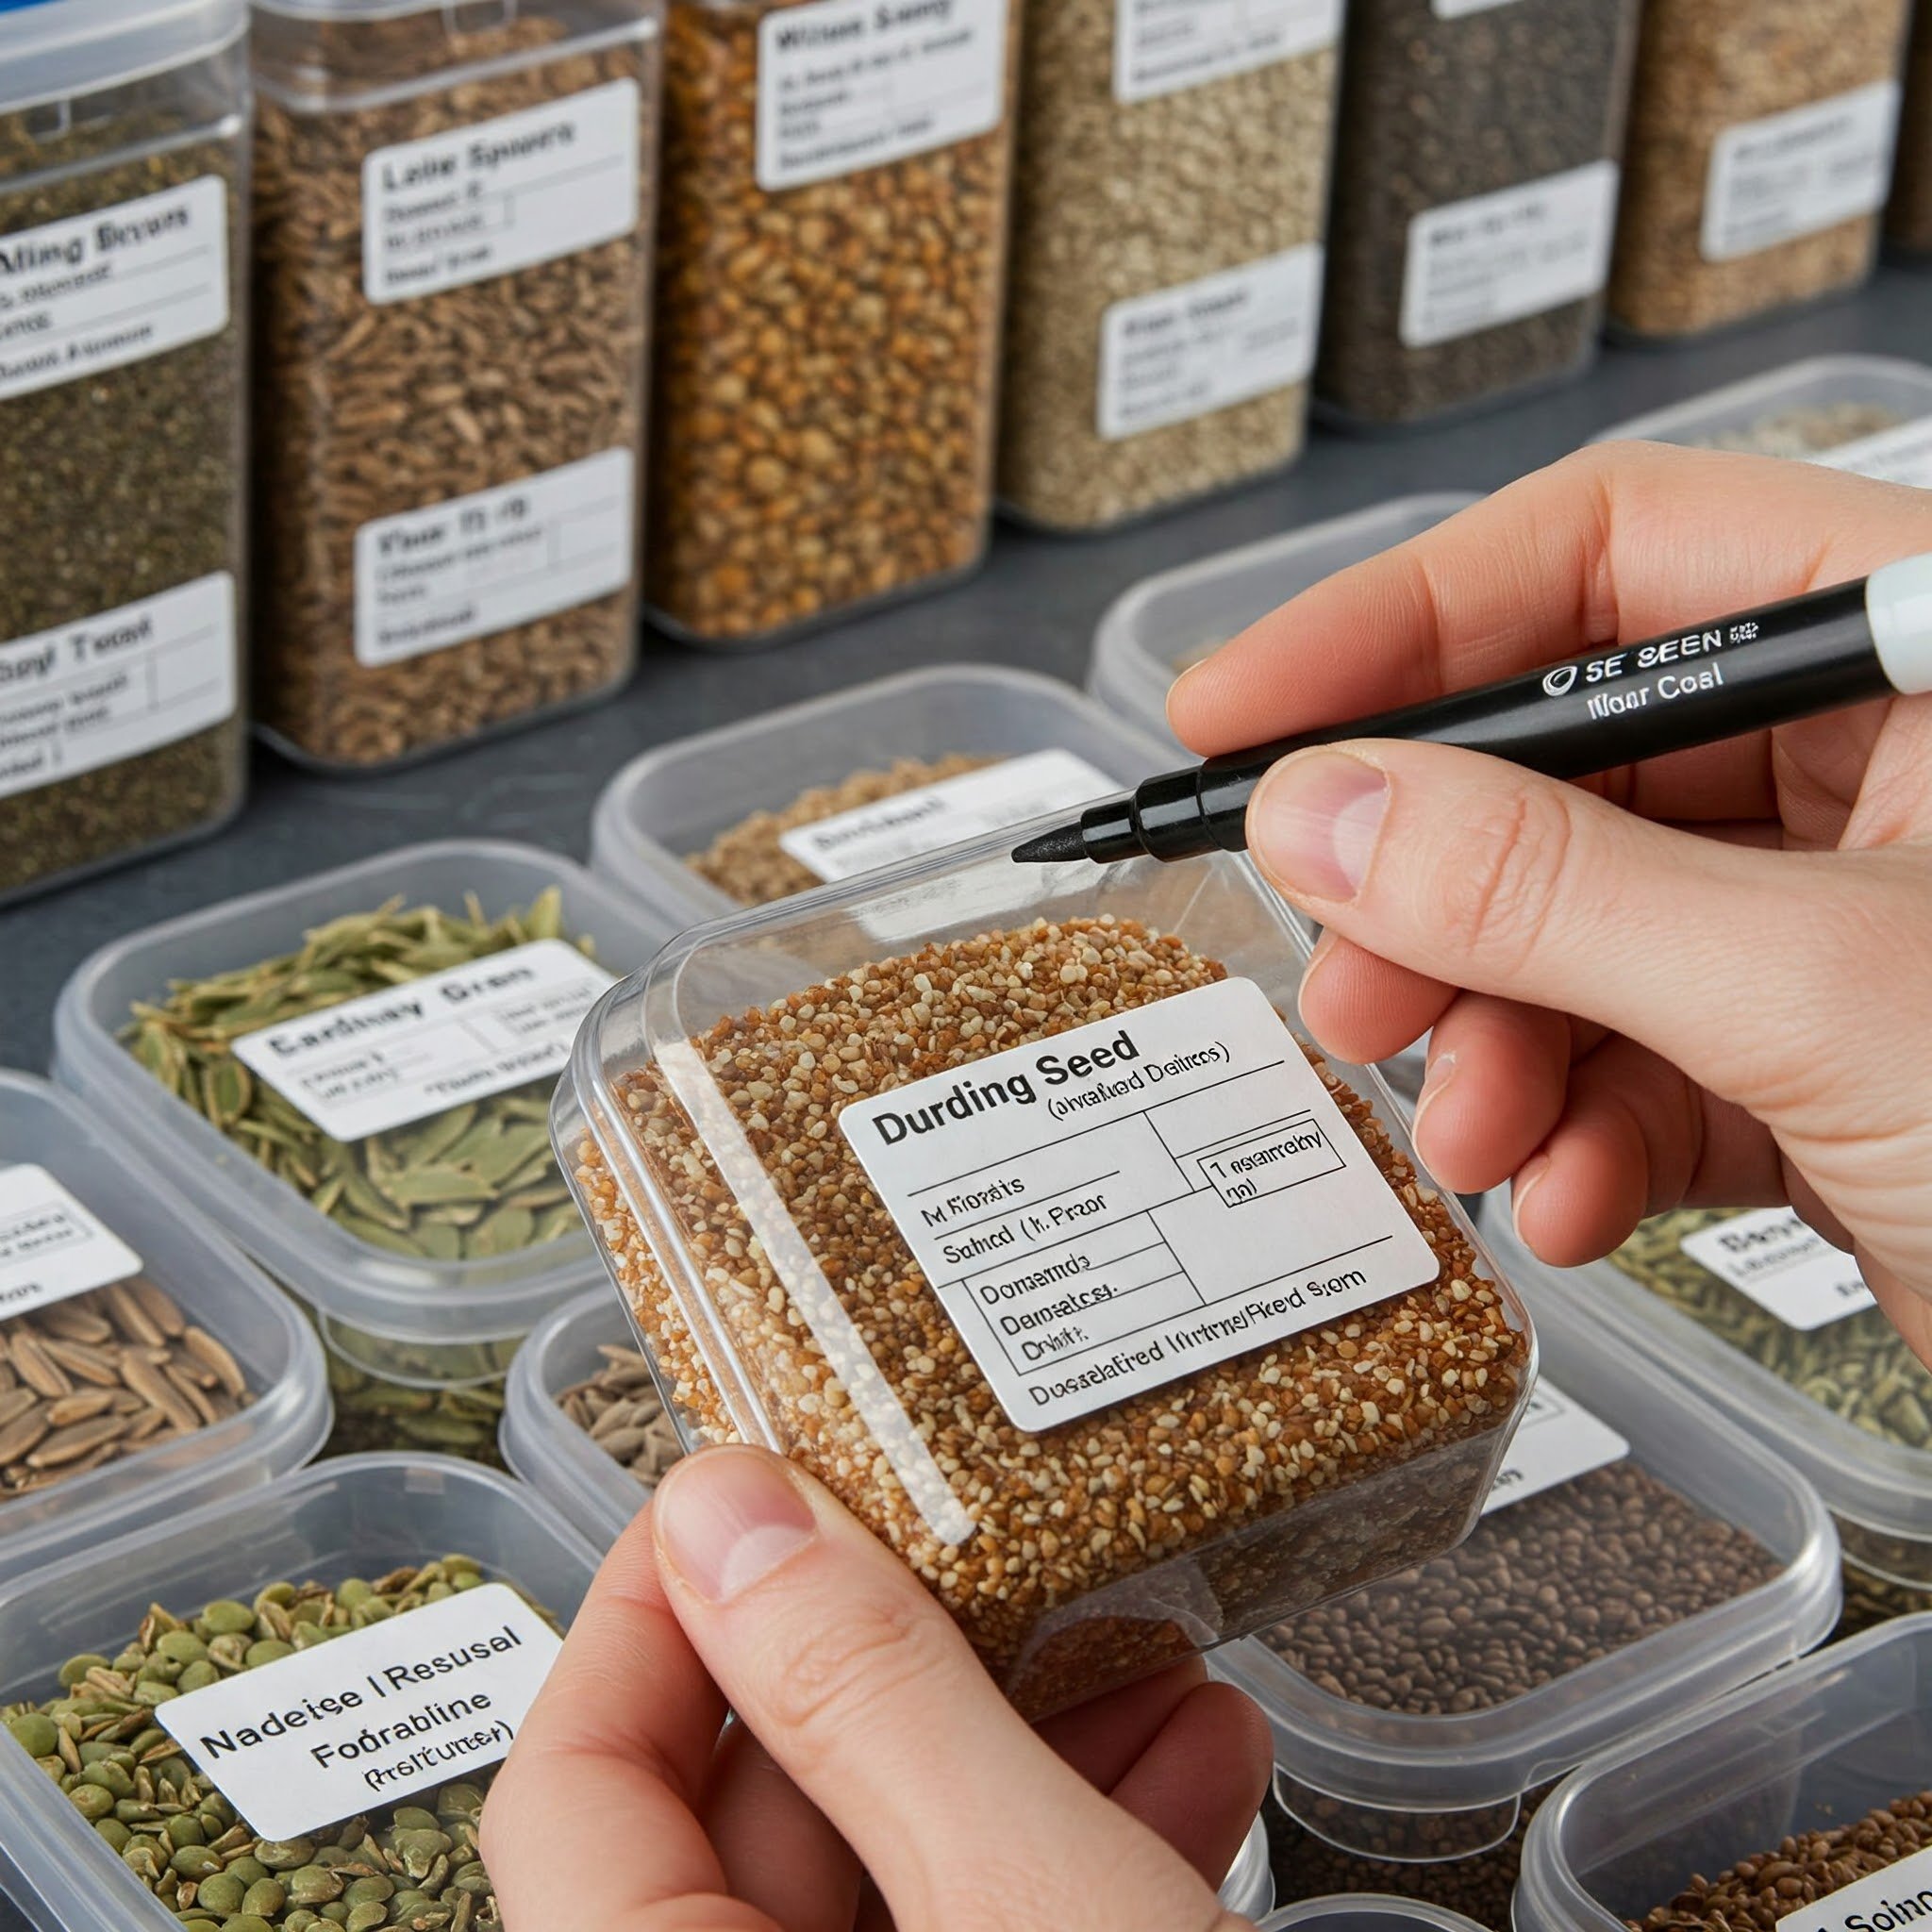
10. Labeling Like a Pro
No storage method is complete without solid labeling—otherwise, you risk turning your carefully organized collection into a puzzle of mystery seeds. At the very least, jot down the variety name and the date you either acquired or harvested the seeds. Consider adding notes on ideal planting depth, germination time, and any unique care tips you’ve discovered. This info acts like a personal cheat sheet when sowing season arrives. You can write labels directly on containers, use stickers, or tag envelopes. Some gardeners even color-code by plant type or planting season, giving each group a distinct hue for quick identification. The key is consistency. A well-labeled system transforms your seed stash from chaos into a well-orchestrated library—one that saves you countless head-scratching moments later on.
11. Seasonal Segregation of Seeds
Ever rummaged through your seeds in spring, only to find winter-specific varieties littered among them? Segregating seeds by season can streamline your entire gardening routine. Group cool-weather crops like spinach, lettuce, and peas separately from warm-weather stars like tomatoes, peppers, and cucumbers. You might use labeled shoeboxes, separate shelves, or color-coded envelopes for each season. By doing so, you avoid that dreaded moment of confusion when prepping your garden beds. It’s like organizing your closet: sweaters in one place, summer tees in another. Not only does it speed up your workflow, but it also reduces the risk of accidentally planting the wrong seeds at the wrong time. When it’s time to sow, you can reach straight for the relevant batch instead of combing through every variety in your possession.

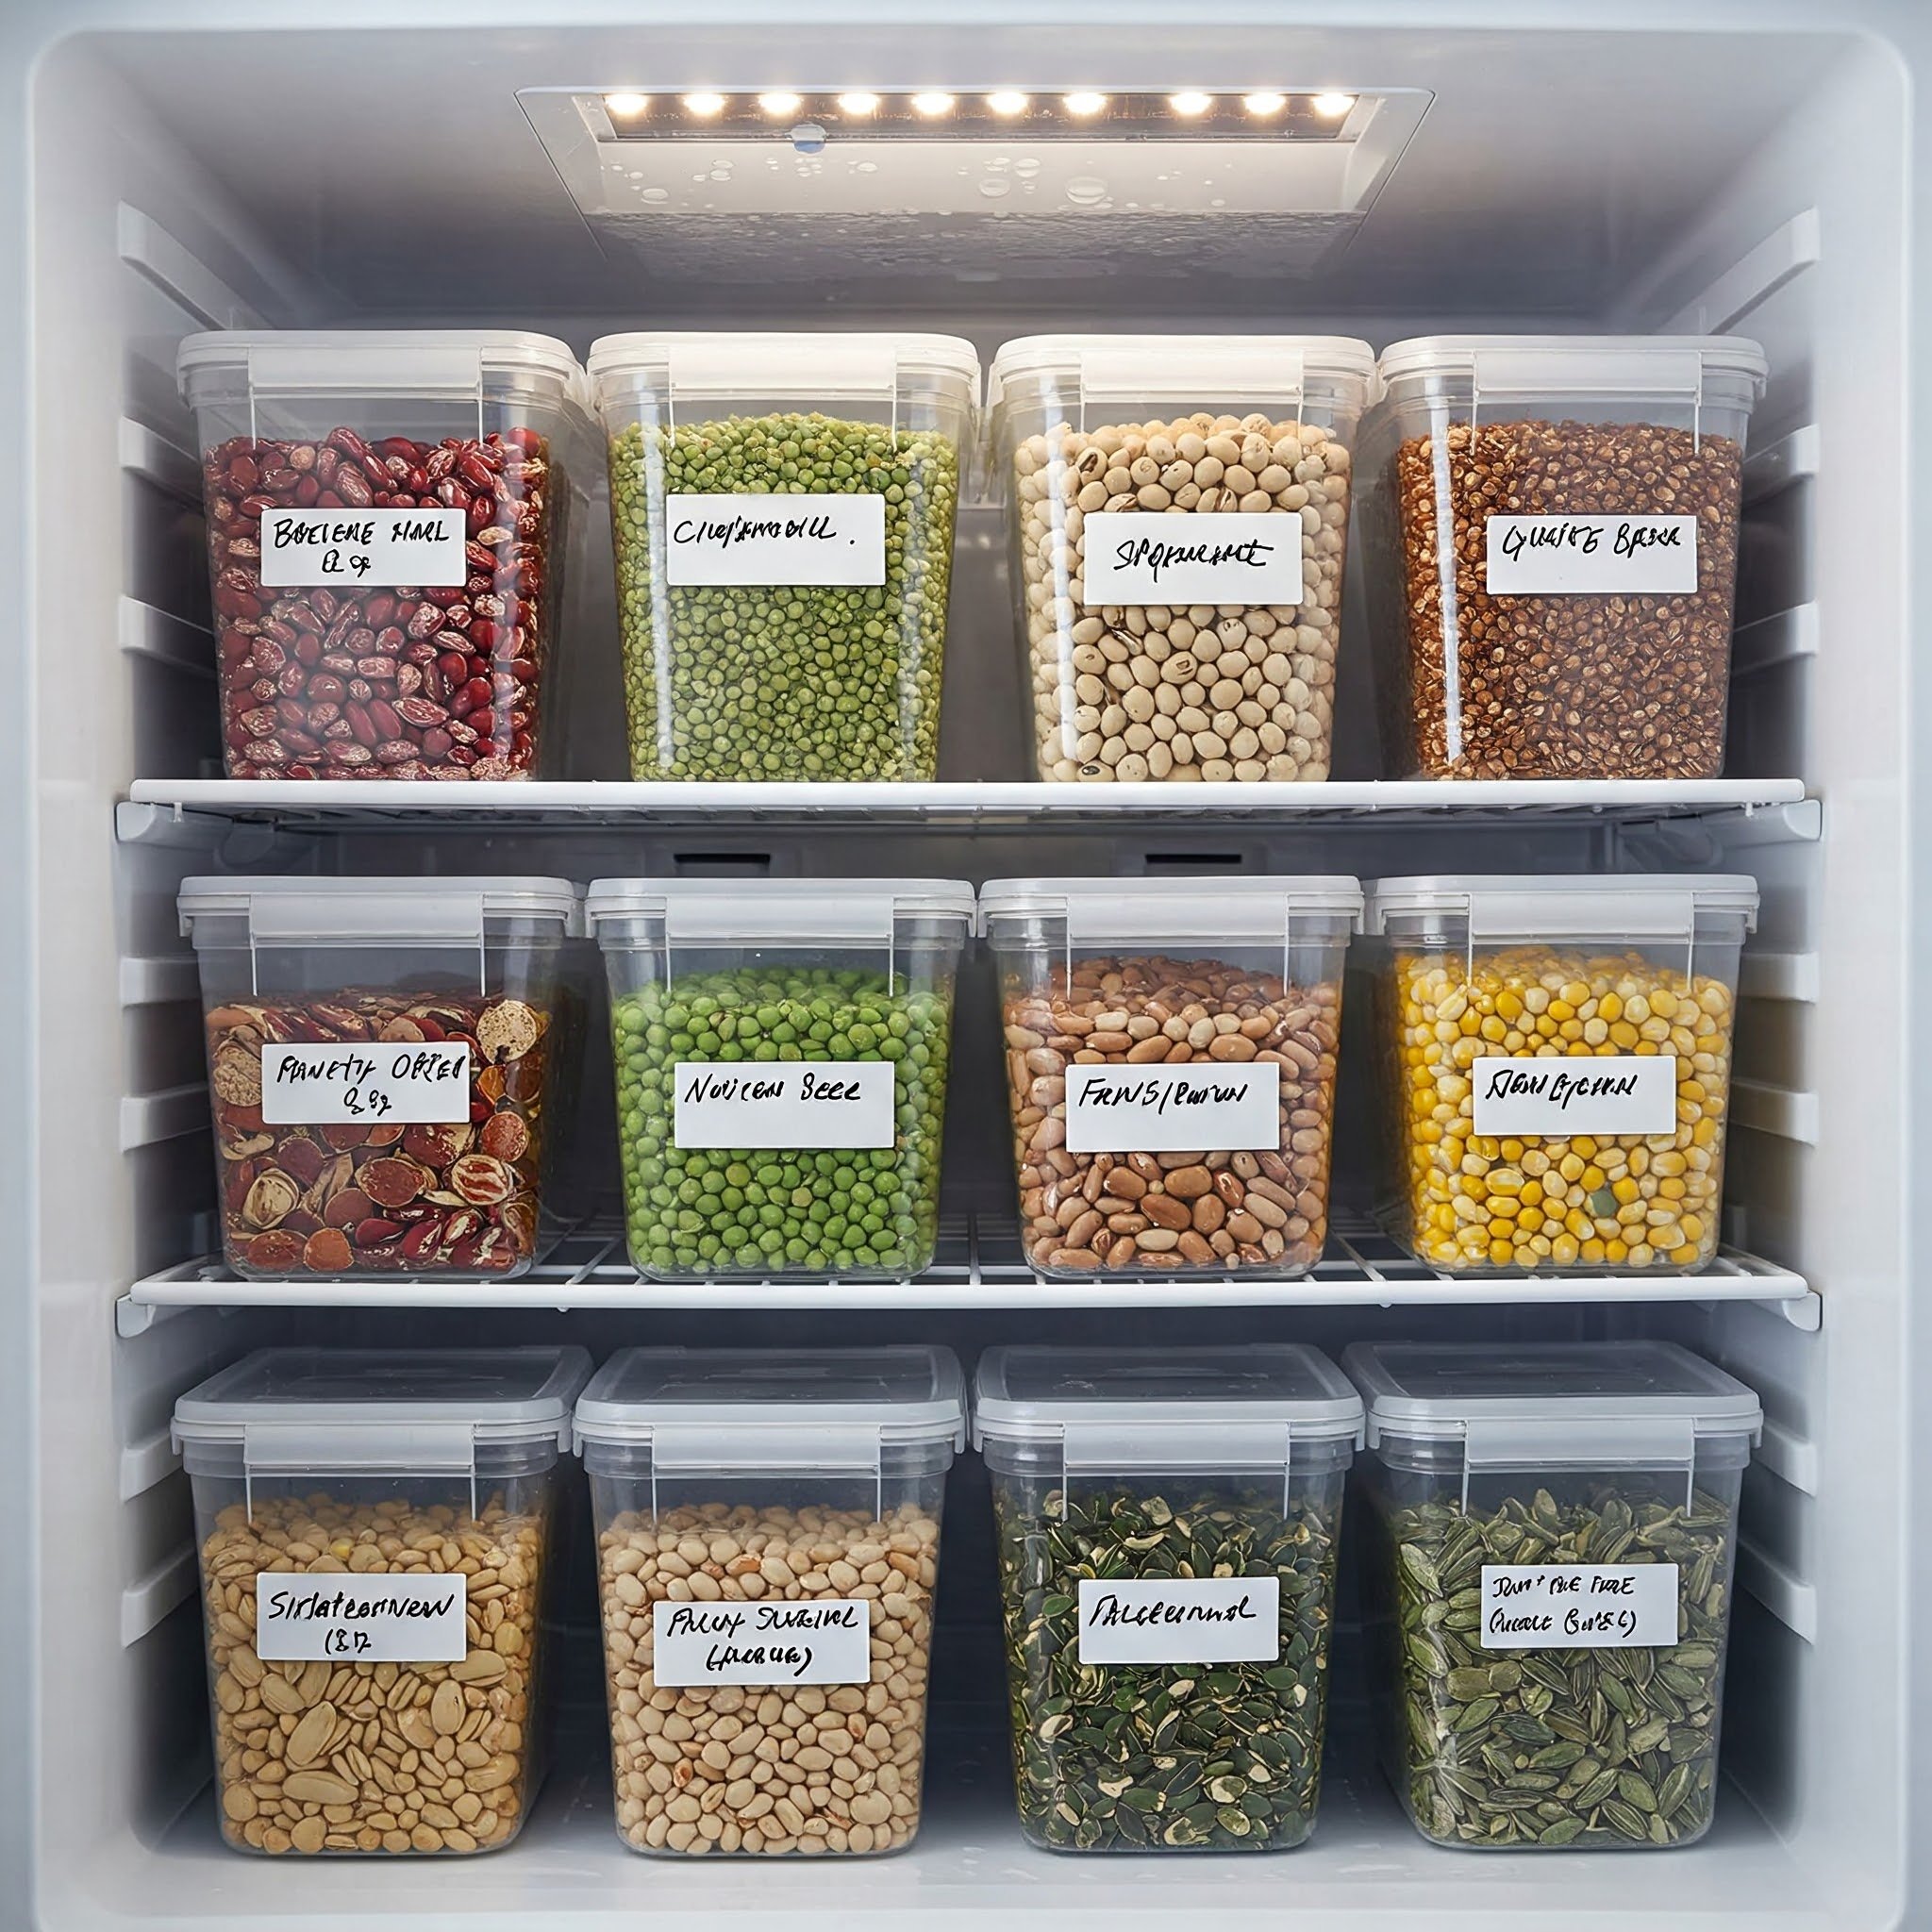
12. Freezer Storage Facts
Storing seeds in the freezer may sound extreme, but it’s a legitimate method for many varieties, particularly those known for extended viability. The cold environment essentially places seeds in suspended animation, slowing down their metabolic processes. However, proceed with caution: seeds must be bone-dry before you freeze them, or trapped moisture can cause icy damage. Once sealed in airtight containers or vacuum bags, seeds can remain in deep slumber for years. Thaw them gradually when you’re ready to plant, leaving them in a cool, dry area before exposing them to room temperature. Freezer storage is akin to time travel for seeds—when done properly, you’ll pull them out months or even years later, and they’ll still be primed for germination, almost as though no time has passed at all.
13. Desiccants and Silica Packets
Ever noticed those little packets labeled “Do Not Eat” inside shoe boxes or vitamin bottles? Silica gel packets are powerful desiccants that absorb moisture from the air around them. For seed storage, adding one to your container or jar can be a game-changer, especially in humid environments. Think of silica packets like tiny bodyguards, standing between your seeds and the threat of mold or dampness. You can even buy bulk desiccants designed for larger containers if you’re storing a big batch of seeds. Make sure to replace or “recharge” them by drying them out in an oven if they’ve absorbed moisture to capacity. Using desiccants ensures your seeds remain in a stable, dry microclimate—basically giving them a personal dehumidifier to snuggle up to while they rest.

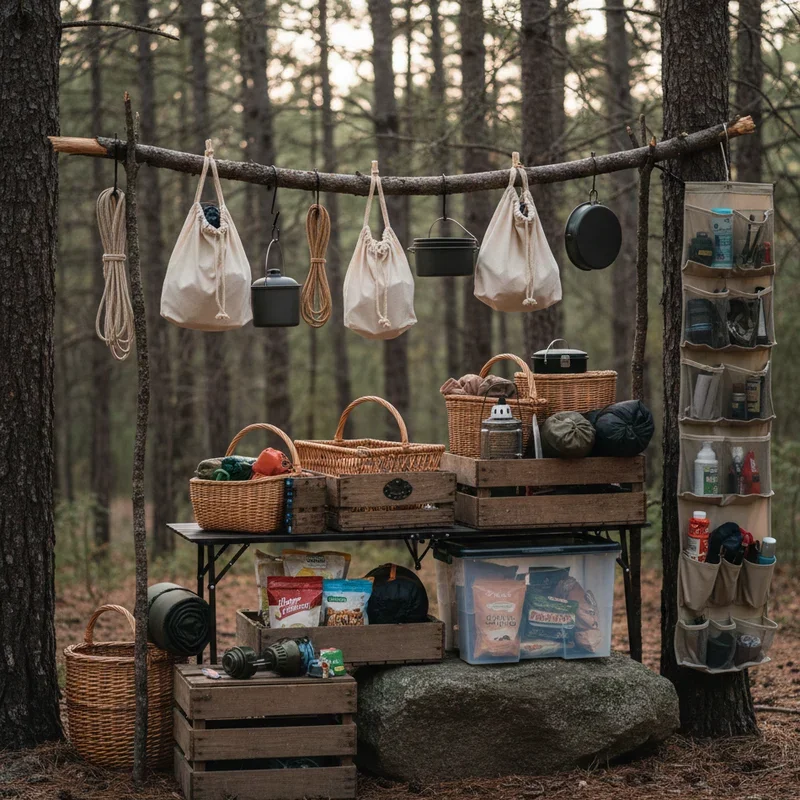
14. Travel and Trade: Portable Seed Cases
Gardeners are sharers by nature, often exchanging interesting seed varieties with friends or bringing them along to community seed swaps. That’s where portable seed cases shine. These can be small accordion-style folders or even craft organizers with individual compartments for different types of seeds. Compact and lightweight, they’re perfect for traveling. If you’re heading to a seed swap, you can label each compartment with the plant variety, harvest date, or any special instructions. It’s like carrying a mini library of life in your bag! The best part? Everything stays neatly in place, so you won’t spill seeds all over your car or find them mysteriously lodged in your pockets weeks later. Next time you venture out to trade seeds, show up with a portable case that’s as organized as it is stylish.

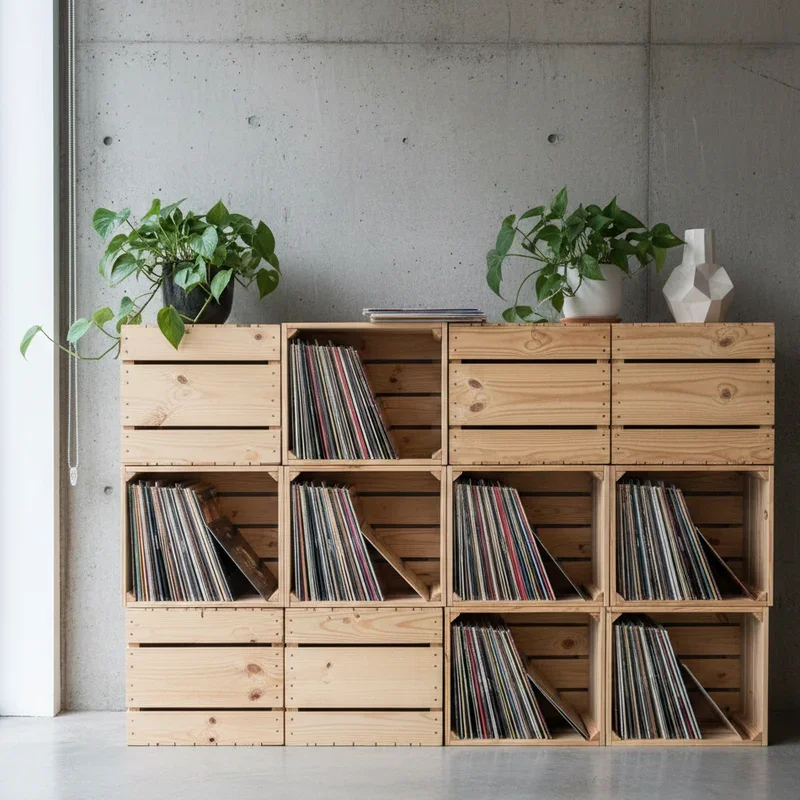
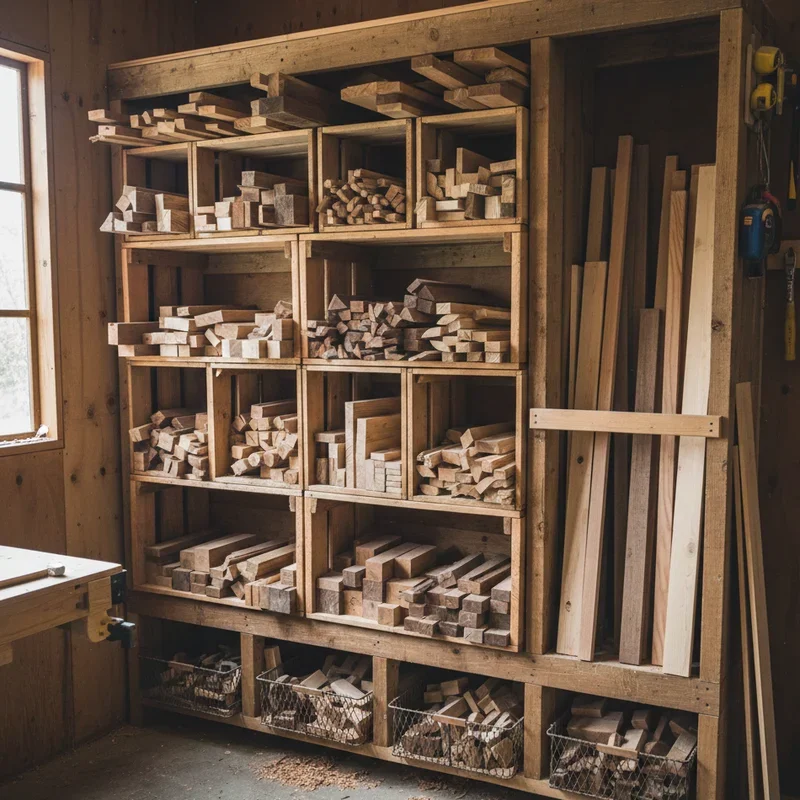
15. Upcycled Wooden Boxes for a Rustic Touch
If you love a dash of rustic charm in your gardening gear, consider upcycling wooden boxes for seed storage. An old cigar box or vintage crate can be given a second life with minimal effort. The natural wood helps maintain a moderate internal climate, especially if you add a packet or two of desiccant for extra dryness. Line the interior with kraft paper, or slip your seed envelopes inside for a quaint and cozy aesthetic. These boxes also look lovely on display, whether on a shelf in your potting shed or a corner of your home office. The warm tones of aged wood evoke a sense of gardening tradition, reminding you that seeds and the earth are timeless partners. With a little creativity, you’ll create a seed storage solution that’s as functional as it is decorative.

Conclusion
Seeds might be tiny, but their importance to every gardener is immense, carrying the DNA of future blooms and harvests within their delicate shells. By employing these 15 clever seed storage ideas—from airtight containers and repurposed spice tins to vacuum-sealed bags and upcycled wooden boxes—you’ll nurture each seed’s potential even before it touches the soil. Proper storage isn’t just about tidiness; it’s an essential step in ensuring the vitality and success of your next growing season. With the right temperature, humidity, and organizational methods in place, you’ll enjoy a well-ordered collection that’s ready to burst into life whenever you are. So go ahead—embrace your newfound storage know-how, and watch your gardening adventures flourish from seed to splendid bloom.
Frequently Asked Questions
Which seeds benefit most from freezer storage?
Typically, seeds with a naturally long shelf life—like certain vegetables and herbs—respond well to freezer storage, as long as they’re completely dry.Are paper envelopes enough to keep insects away from seeds?
Paper envelopes alone can be vulnerable. Pair them with sealed containers or use desiccant packets to protect against both moisture and pests.How can I tell if my seeds are still viable?
Conduct a germination test: place a few seeds in a damp paper towel, keep them warm, and see if they sprout. If most do, your seeds are still good.Can I use regular plastic bags for storage without vacuum sealing?
Yes, but try to squeeze out as much air as possible, and keep them in a cool, dark place. Adding a desiccant packet is also helpful.When should I replace my desiccant packets?
Replace or recharge them if you notice any color change (on indicator versions) or after extended use in high-humidity conditions, typically every few months.
Stay up to date with our latest ideas!